CEREC MC XL - MEDIPRO
CEREC MC XL - MEDIPRO
CEREC MC XL - MEDIPRO

Create successful ePaper yourself
Turn your PDF publications into a flip-book with our unique Google optimized e-Paper software.
6 Operation Sirona Dental Systems GmbH<br />
Calibrating the unit<br />
Operating Instructions <strong>CEREC</strong> <strong>MC</strong> <strong>XL</strong><br />
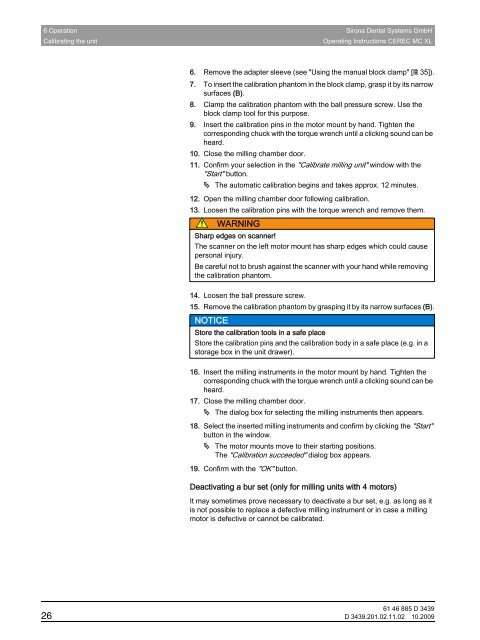
6. Remove the adapter sleeve (see "Using the manual block clamp" [ 35]).<br />
7. To insert the calibration phantom in the block clamp, grasp it by its narrow<br />
surfaces (B).<br />
8. Clamp the calibration phantom with the ball pressure screw. Use the<br />
block clamp tool for this purpose.<br />
9. Insert the calibration pins in the motor mount by hand. Tighten the<br />
corresponding chuck with the torque wrench until a clicking sound can be<br />
heard.<br />
10. Close the milling chamber door.<br />
11. Confirm your selection in the "Calibrate milling unit" window with the<br />
"Start" button.<br />
The automatic calibration begins and takes approx. 12 minutes.<br />
12. Open the milling chamber door following calibration.<br />
13. Loosen the calibration pins with the torque wrench and remove them.<br />
WARNING<br />
Sharp edges on scanner!<br />
The scanner on the left motor mount has sharp edges which could cause<br />
personal injury.<br />
Be careful not to brush against the scanner with your hand while removing<br />
the calibration phantom.<br />
14. Loosen the ball pressure screw.<br />
15. Remove the calibration phantom by grasping it by its narrow surfaces (B).<br />
NOTICE<br />
Store the calibration tools in a safe place<br />
Store the calibration pins and the calibration body in a safe place (e.g. in a<br />
storage box in the unit drawer).<br />
16. Insert the milling instruments in the motor mount by hand. Tighten the<br />
corresponding chuck with the torque wrench until a clicking sound can be<br />
heard.<br />
17. Close the milling chamber door.<br />
The dialog box for selecting the milling instruments then appears.<br />
18. Select the inserted milling instruments and confirm by clicking the "Start"<br />
button in the window.<br />
The motor mounts move to their starting positions.<br />
The "Calibration succeeded" dialog box appears.<br />
19. Confirm with the "OK" button.<br />
Title: Deactivating the <strong>CEREC</strong> bur set<br />
Deactivating a bur set (only for milling units with 4 motors)<br />
Description of deactivation of bur set<br />
It may sometimes prove necessary to deactivate a bur set, e.g. as long as it<br />
is not possible to replace a defective milling instrument or in case a milling<br />
motor is defective or cannot be calibrated.<br />
61 46 885 D 3439<br />
26 D 3439.201.02.11.02 10.2009