

Chapter 1. Getting Started - Kodak
Chapter 1. Getting Started - Kodak
Chapter 1. Getting Started - Kodak

You also want an ePaper? Increase the reach of your titles
YUMPU automatically turns print PDFs into web optimized ePapers that Google loves.
<strong>Chapter</strong> <strong>1.</strong> <strong>Getting</strong> <strong>Started</strong><br />
Defining Default Settings<br />
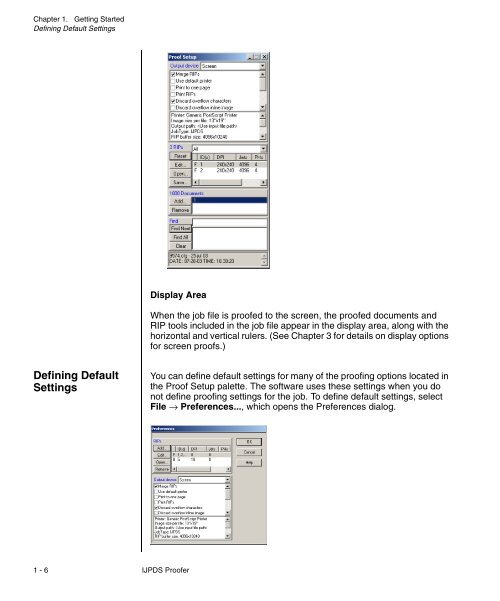
Display Area<br />
When the job file is proofed to the screen, the proofed documents and<br />
RIP tools included in the job file appear in the display area, along with the<br />
horizontal and vertical rulers. (See <strong>Chapter</strong> 3 for details on display options<br />
for screen proofs.)<br />
Defining Default<br />
Settings<br />
You can define default settings for many of the proofing options located in<br />
the Proof Setup palette. The software uses these settings when you do<br />
not define proofing settings for the job. To define default settings, select<br />
File → Preferences..., which opens the Preferences dialog.<br />
1 - 6 IJPDS Proofer


