

Chapter 1. Getting Started - Kodak
Chapter 1. Getting Started - Kodak
Chapter 1. Getting Started - Kodak

Create successful ePaper yourself
Turn your PDF publications into a flip-book with our unique Google optimized e-Paper software.
<strong>Chapter</strong> 2. Proofing Job Files<br />
Selecting the Proofing Device<br />
Selecting the<br />
Proofing Device<br />
You can proof jobs to the screen or a printer, or you can save the proofs<br />
as BMP, TIFF, JPEG, or PDF files. You select the proofing device (Screen,<br />
Printer or File) from the Output device drop-down list in the Proof Setup<br />
palette.<br />
Proofing to Screen<br />
If you select Screen as your proofing device, you can define several<br />
screen proofing options. See <strong>Chapter</strong> 3 for details on these options.<br />
Proofing to a Printer<br />
When you are printing the proof, use the following steps to specify the<br />
type of printer to be used and to define your printing options:<br />
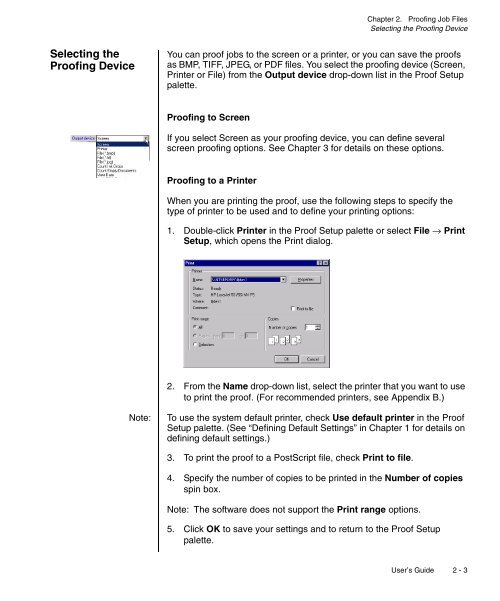
<strong>1.</strong> Double-click Printer in the Proof Setup palette or select File → Print<br />
Setup, which opens the Print dialog.<br />
2. From the Name drop-down list, select the printer that you want to use<br />
to print the proof. (For recommended printers, see Appendix B.)<br />
Note:<br />
To use the system default printer, check Use default printer in the Proof<br />
Setup palette. (See “Defining Default Settings” in <strong>Chapter</strong> 1 for details on<br />
defining default settings.)<br />
3. To print the proof to a PostScript file, check Print to file.<br />
4. Specify the number of copies to be printed in the Number of copies<br />
spin box.<br />
Note: The software does not support the Print range options.<br />
5. Click OK to save your settings and to return to the Proof Setup<br />
palette.<br />
User’s Guide 2 - 3


