

Chapter 1. Getting Started - Kodak
Chapter 1. Getting Started - Kodak
Chapter 1. Getting Started - Kodak

Create successful ePaper yourself
Turn your PDF publications into a flip-book with our unique Google optimized e-Paper software.
<strong>Chapter</strong> 3. Screen Proofing Options<br />
Displaying Documents<br />
Displaying<br />
Documents<br />
The number of documents included in the job file are displayed in<br />
Documents section of the Proof Setup palette.<br />
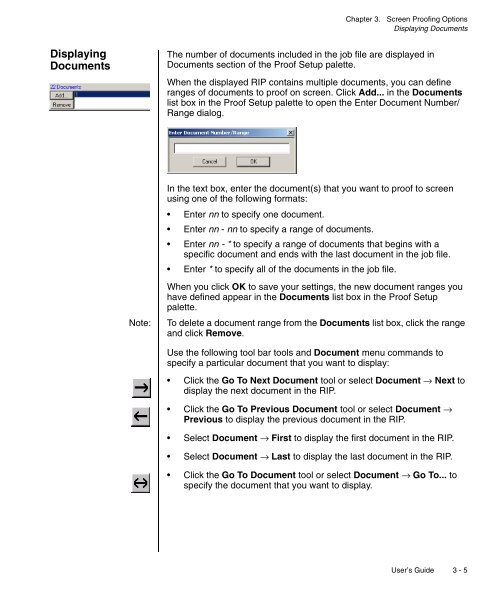
When the displayed RIP contains multiple documents, you can define<br />
ranges of documents to proof on screen. Click Add... in the Documents<br />
list box in the Proof Setup palette to open the Enter Document Number/<br />
Range dialog.<br />
Note:<br />
In the text box, enter the document(s) that you want to proof to screen<br />
using one of the following formats:<br />
• Enter nn to specify one document.<br />
• Enter nn - nn to specify a range of documents.<br />
• Enter nn - * to specify a range of documents that begins with a<br />
specific document and ends with the last document in the job file.<br />
• Enter * to specify all of the documents in the job file.<br />
When you click OK to save your settings, the new document ranges you<br />
have defined appear in the Documents list box in the Proof Setup<br />
palette.<br />
To delete a document range from the Documents list box, click the range<br />
and click Remove.<br />
Use the following tool bar tools and Document menu commands to<br />
specify a particular document that you want to display:<br />
• Click the Go To Next Document tool or select Document → Next to<br />
display the next document in the RIP.<br />
• Click the Go To Previous Document tool or select Document →<br />
Previous to display the previous document in the RIP.<br />
• Select Document → First to display the first document in the RIP.<br />
• Select Document → Last to display the last document in the RIP.<br />
• Click the Go To Document tool or select Document → Go To... to<br />
specify the document that you want to display.<br />
User’s Guide 3 - 5


