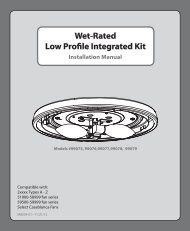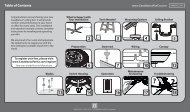
Installation and Operation Manual For Hunter Ceiling ... - Hunter Fan
Installation and Operation Manual For Hunter Ceiling ... - Hunter Fan
Installation and Operation Manual For Hunter Ceiling ... - Hunter Fan

Create successful ePaper yourself
Turn your PDF publications into a flip-book with our unique Google optimized e-Paper software.
®<br />
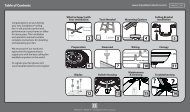
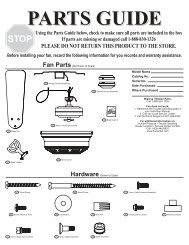
5. Carefully loosen <strong>and</strong> remove the<br />
ground screw/leadwire assembly<br />
from the pipe.<br />
6. Locate the 12" pipe.<br />
7. Insert <strong>and</strong> tighten the ground<br />
screw/leadwire assembly into the<br />
small screw hole on one end of<br />
the 12" pipe.<br />
CAUTION<br />
Make sure that the leadwire<br />
assembly is pointing straight<br />
up <strong>and</strong> away from the pipe.<br />
WARNING<br />
• To avoid possible electrical<br />
shock, the ground screw<br />
must be tightened securely.<br />
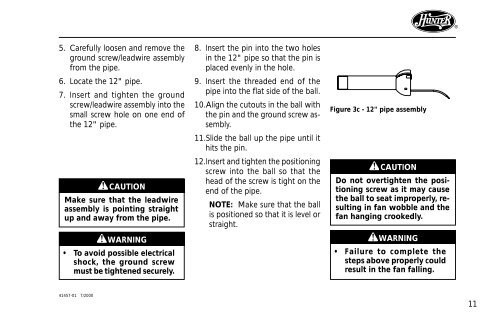
8. Insert the pin into the two holes<br />
in the 12" pipe so that the pin is<br />
placed evenly in the hole.<br />
9. Insert the threaded end of the<br />
pipe into the flat side of the ball.<br />
10.Align the cutouts in the ball with<br />
the pin <strong>and</strong> the ground screw assembly.<br />
11.Slide the ball up the pipe until it<br />
hits the pin.<br />
12.Insert <strong>and</strong> tighten the positioning<br />
screw into the ball so that the<br />
head of the screw is tight on the<br />
end of the pipe.<br />
NOTE: Make sure that the ball<br />
is positioned so that it is level or<br />
straight.<br />
Figure 3c - 12" pipe assembly<br />
CAUTION<br />
Do not overtighten the positioning<br />
screw as it may cause<br />
the ball to seat improperly, resulting<br />
in fan wobble <strong>and</strong> the<br />
fan hanging crookedly.<br />
WARNING<br />
• Failure to complete the<br />
steps above properly could<br />
result in the fan falling.<br />
41457-01 7/2000<br />
11