Nuts & Volts
Nuts & Volts
Nuts & Volts
Create successful ePaper yourself
Turn your PDF publications into a flip-book with our unique Google optimized e-Paper software.
THE DESIGN CYCLE<br />
Obtaining an MC68HC908MR16<br />
datasheet from the Freescale website<br />
would be a good idea, as well. Okay,<br />
now that you’ve been given the keys and<br />
shown the secret codes, let’s go get ‘em.<br />
We’ll build our RS-232 serial port<br />
code on the foundation we previously<br />
laid for the LED blinker code. As you<br />
can see in the Photo 1 screen shot, I’ve<br />
selected the AsynchroSerial Bean from<br />
within the Bean Selector window and<br />
double-clicked on it to add it to our<br />
new C project (MR16_ADC), along with<br />
the BitIO Bean we added previously. I<br />
then proceeded to configure the<br />
AsynchroSerial Bean, which I renamed<br />
to RS-232, using the Bean Inspector.<br />
The result of my selecting and<br />
configuring the AsynchroSerial Bean<br />
and initiating a compile was the<br />
creation of a file called RS232.c, which<br />
holds all of the C and assembler routines<br />
necessary to send and receive<br />
characters via the MC68HC908MR16’s<br />
SCI (Serial Communications<br />
Interface). Recall that the same file<br />
creation process occurred when we<br />
planted the LED_BIT I/O Bean in last<br />
month’s installment of this column<br />
and spawned the LED_BIT.c file.<br />
If you take the time to explore the<br />
Bean Inspector’s Methods and Events<br />
areas, you’ll find that many of the<br />
advanced RS-232 functions are unavailable.<br />
I figure that’s because we’re using<br />
a “FREE” C compiler and you get what<br />
you pay for. In any case, all we want to<br />
do is send and receive characters via<br />
the MC68HC908MR16’s serial port and<br />
there are enough options we can<br />
choose from in the Bean Inspector<br />
Methods area to make that happen.<br />
Okay, so now — thanks to the<br />
AsynchroSerial Bean — we have some<br />
workable RS-232 send/receive code, in<br />
addition to our LED blinker I/O code.<br />
Adding the RS-232 Bean also posted<br />
some changes in the MC68HC908MR16<br />
startup files. Let’s examine the lowlevel<br />
initialization code in Listing 1.<br />
At first glance, the statement<br />
setReg8Bits(PTB, 0x04); (which you<br />
and I didn’t write) is obviously a<br />
function or macro that is most likely<br />
setting some bits in an eight-bit<br />
register. However, the question may<br />
arise as to what do the arguments of<br />
this statement represent. An intuitive<br />
guess would be that the bit 2 of I/O<br />
Port B is being set (0b00000100). In<br />
this case, my guess is correct and as<br />
Spock would say, “Random chance<br />
seems to have operated in our favor.”<br />
To be sure of what the statement’s<br />
intentions are, all we have<br />
to do is place the cursor on the<br />
statement in question and right-click.<br />
You will be prompted to be taken to<br />
the coded definition of the statement<br />
which, in this case, is a macro. The<br />
definition of setReg8Bits(PTB, 0x04);<br />
is contained within the PE_Types.h<br />
file and looks like this:<br />
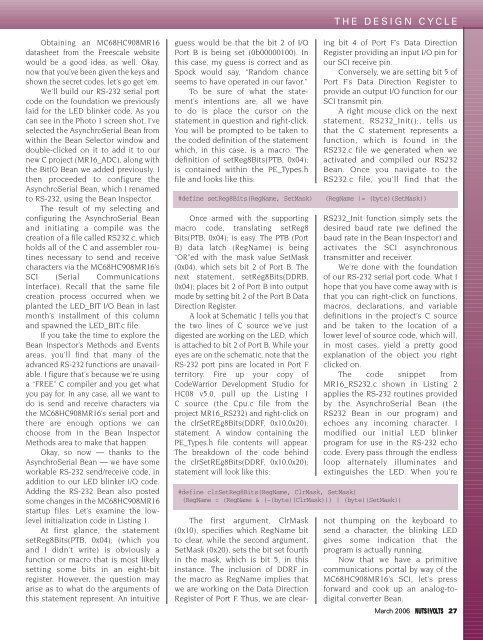
#define setReg8Bits(RegName, SetMask)<br />
Once armed with the supporting<br />
macro code, translating setReg8<br />
Bits(PTB, 0x04); is easy. The PTB (Port<br />
B) data latch (RegName) is being<br />
“OR”ed with the mask value SetMask<br />
(0x04), which sets bit 2 of Port B. The<br />
next statement, setReg8Bits(DDRB,<br />
0x04); places bit 2 of Port B into output<br />
mode by setting bit 2 of the Port B Data<br />
Direction Register.<br />
A look at Schematic 1 tells you that<br />
the two lines of C source we’ve just<br />
digested are working on the LED, which<br />
is attached to bit 2 of Port B. While your<br />
eyes are on the schematic, note that the<br />
RS-232 port pins are located in Port F<br />
territory. Fire up your copy of<br />
CodeWarrior Development Studio for<br />
HC08 v5.0, pull up the Listing 1<br />
C source (the Cpu.c file from the<br />
project MR16_RS232) and right-click on<br />
the clrSetREg8Bits(DDRF, 0x10,0x20);<br />
statement. A window containing the<br />
PE_Types.h file contents will appear.<br />
The breakdown of the code behind<br />
the clrSetREg8Bits(DDRF, 0x10,0x20);<br />
statement will look like this:<br />
The first argument, ClrMask<br />
(0x10), specifies which RegName bit<br />
to clear, while the second argument,<br />
SetMask (0x20), sets the bit set fourth<br />
in the mask, which is bit 5, in this<br />
instance. The inclusion of DDRF in<br />
the macro as RegName implies that<br />
we are working on the Data Direction<br />
Register of Port F. Thus, we are clearing<br />
bit 4 of Port F’s Data Direction<br />
Register providing an input I/O pin for<br />
our SCI receive pin.<br />
Conversely, we are setting bit 5 of<br />
Port F’s Data Direction Register to<br />
provide an output I/O function for our<br />
SCI transmit pin.<br />
A right mouse click on the next<br />
statement, RS232_Init();, tells us<br />
that the C statement represents a<br />
function, which is found in the<br />
RS232.c file we generated when we<br />
activated and compiled our RS232<br />
Bean. Once you navigate to the<br />
RS232.c file, you’ll find that the<br />
(RegName |= (byte)(SetMask))<br />
RS232_Init function simply sets the<br />
desired baud rate (we defined the<br />
baud rate in the Bean Inspector) and<br />
activates the SCI asynchronous<br />
transmitter and receiver.<br />
We’re done with the foundation<br />
of our RS-232 serial port code. What I<br />
hope that you have come away with is<br />
that you can right-click on functions,<br />
macros, declarations, and variable<br />
definitions in the project’s C source<br />
and be taken to the location of a<br />
lower level of source code, which will,<br />
in most cases, yield a pretty good<br />
explanation of the object you right<br />
clicked on.<br />
The code snippet from<br />
MR16_RS232.c shown in Listing 2<br />
applies the RS-232 routines provided<br />
by the AsynchroSerial Bean (the<br />
RS232 Bean in our program) and<br />
echoes any incoming character. I<br />
modified our initial LED blinker<br />
program for use in the RS-232 echo<br />
code. Every pass through the endless<br />
loop alternately illuminates and<br />
extinguishes the LED. When you’re<br />
#define clrSetReg8Bits(RegName, ClrMask, SetMask)<br />
(RegName = (RegName & (~(byte)(ClrMask))) | (byte)(SetMask))<br />
not thumping on the keyboard to<br />
send a character, the blinking LED<br />
gives some indication that the<br />
program is actually running.<br />
Now that we have a primitive<br />
communications portal by way of the<br />
MC68HC908MR16’s SCI, let’s press<br />
forward and cook up an analog-todigital<br />
converter Bean.<br />
March 2006 27


