SuperSweep64 - dirac
SuperSweep64 - dirac
SuperSweep64 - dirac
You also want an ePaper? Increase the reach of your titles
YUMPU automatically turns print PDFs into web optimized ePapers that Google loves.
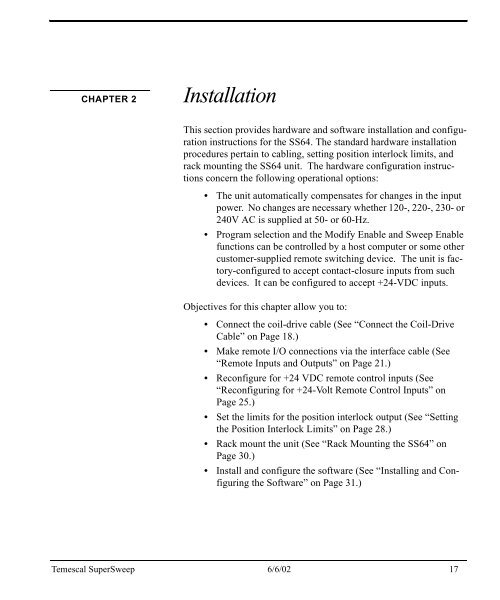
CHAPTER 2<br />
Installation<br />
This section provides hardware and software installation and configuration<br />
instructions for the SS64. The standard hardware installation<br />
procedures pertain to cabling, setting position interlock limits, and<br />
rack mounting the SS64 unit. The hardware configuration instructions<br />
concern the following operational options:<br />
• The unit automatically compensates for changes in the input<br />
power. No changes are necessary whether 120-, 220-, 230- or<br />
240V AC is supplied at 50- or 60-Hz.<br />
• Program selection and the Modify Enable and Sweep Enable<br />
functions can be controlled by a host computer or some other<br />
customer-supplied remote switching device. The unit is factory-configured<br />
to accept contact-closure inputs from such<br />
devices. It can be configured to accept +24-VDC inputs.<br />
Objectives for this chapter allow you to:<br />
• Connect the coil-drive cable (See “Connect the Coil-Drive<br />
Cable” on Page 18.)<br />
• Make remote I/O connections via the interface cable (See<br />
“Remote Inputs and Outputs” on Page 21.)<br />
• Reconfigure for +24 VDC remote control inputs (See<br />
“Reconfiguring for +24-Volt Remote Control Inputs” on<br />
Page 25.)<br />
• Set the limits for the position interlock output (See “Setting<br />
the Position Interlock Limits” on Page 28.)<br />
• Rack mount the unit (See “Rack Mounting the SS64” on<br />
Page 30.)<br />
• Install and configure the software (See “Installing and Configuring<br />
the Software” on Page 31.)<br />
Temescal SuperSweep 6/6/02 17


