Photo Lab Manual (PDF) - Richland College
Photo Lab Manual (PDF) - Richland College
Photo Lab Manual (PDF) - Richland College
You also want an ePaper? Increase the reach of your titles
YUMPU automatically turns print PDFs into web optimized ePapers that Google loves.
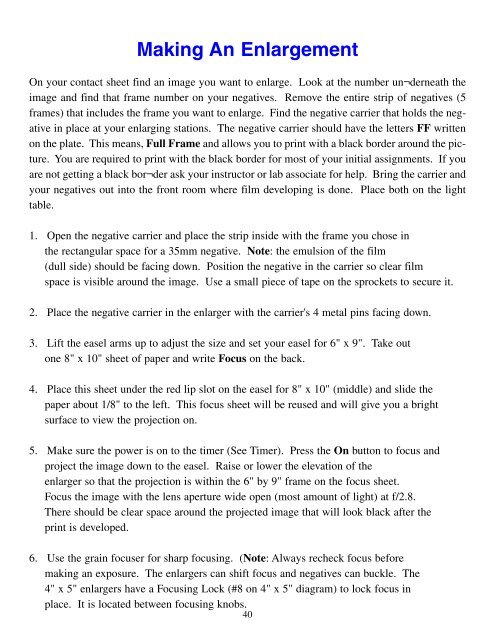
Making An EnlargementOn your contact sheet find an image you want to enlarge. Look at the number un¬derneath theimage and find that frame number on your negatives. Remove the entire strip of negatives (5frames) that includes the frame you want to enlarge. Find the negative carrier that holds the negativein place at your enlarging stations. The negative carrier should have the letters FF writtenon the plate. This means, Full Frame and allows you to print with a black border around the picture.You are required to print with the black border for most of your initial assignments. If youare not getting a black bor¬der ask your instructor or lab associate for help. Bring the carrier andyour negatives out into the front room where film developing is done. Place both on the lighttable.1. Open the negative carrier and place the strip inside with the frame you chose inthe rectangular space for a 35mm negative. Note: the emulsion of the film(dull side) should be facing down. Position the negative in the carrier so clear filmspace is visible around the image. Use a small piece of tape on the sprockets to secure it.2. Place the negative carrier in the enlarger with the carrier's 4 metal pins facing down.3. Lift the easel arms up to adjust the size and set your easel for 6" x 9". Take outone 8" x 10" sheet of paper and write Focus on the back.4. Place this sheet under the red lip slot on the easel for 8" x 10" (middle) and slide thepaper about 1/8" to the left. This focus sheet will be reused and will give you a brightsurface to view the projection on.5. Make sure the power is on to the timer (See Timer). Press the On button to focus andproject the image down to the easel. Raise or lower the elevation of theenlarger so that the projection is within the 6" by 9" frame on the focus sheet.Focus the image with the lens aperture wide open (most amount of light) at f/2.8.There should be clear space around the projected image that will look black after theprint is developed.6. Use the grain focuser for sharp focusing. (Note: Always recheck focus beforemaking an exposure. The enlargers can shift focus and negatives can buckle. The4" x 5" enlargers have a Focusing Lock (#8 on 4" x 5" diagram) to lock focus inplace. It is located between focusing knobs.40


