Photo Lab Manual (PDF) - Richland College
Photo Lab Manual (PDF) - Richland College
Photo Lab Manual (PDF) - Richland College
You also want an ePaper? Increase the reach of your titles
YUMPU automatically turns print PDFs into web optimized ePapers that Google loves.
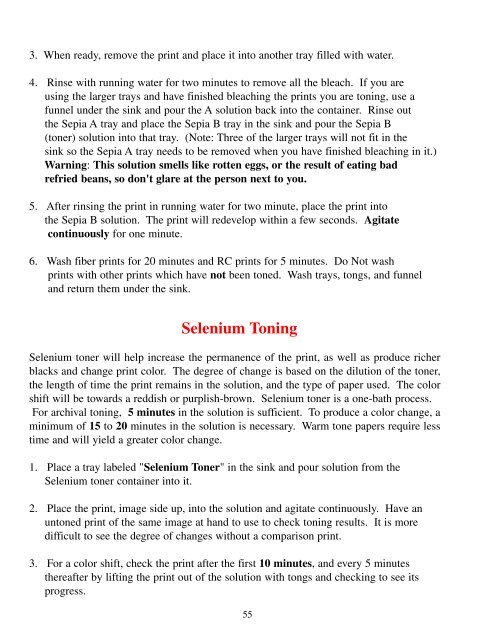
3. When ready, remove the print and place it into another tray filled with water.4. Rinse with running water for two minutes to remove all the bleach. If you areusing the larger trays and have finished bleaching the prints you are toning, use afunnel under the sink and pour the A solution back into the container. Rinse outthe Sepia A tray and place the Sepia B tray in the sink and pour the Sepia B(toner) solution into that tray. (Note: Three of the larger trays will not fit in thesink so the Sepia A tray needs to be removed when you have finished bleaching in it.)Warning: This solution smells like rotten eggs, or the result of eating badrefried beans, so don't glare at the person next to you.5. After rinsing the print in running water for two minute, place the print intothe Sepia B solution. The print will redevelop within a few seconds. Agitatecontinuously for one minute.6. Wash fiber prints for 20 minutes and RC prints for 5 minutes. Do Not washprints with other prints which have not been toned. Wash trays, tongs, and funneland return them under the sink.Selenium ToningSelenium toner will help increase the permanence of the print, as well as produce richerblacks and change print color. The degree of change is based on the dilution of the toner,the length of time the print remains in the solution, and the type of paper used. The colorshift will be towards a reddish or purplish-brown. Selenium toner is a one-bath process.For archival toning, 5 minutes in the solution is sufficient. To produce a color change, aminimum of 15 to 20 minutes in the solution is necessary. Warm tone papers require lesstime and will yield a greater color change.1. Place a tray labeled "Selenium Toner" in the sink and pour solution from theSelenium toner container into it.2. Place the print, image side up, into the solution and agitate continuously. Have anuntoned print of the same image at hand to use to check toning results. It is moredifficult to see the degree of changes without a comparison print.3. For a color shift, check the print after the first 10 minutes, and every 5 minutesthereafter by lifting the print out of the solution with tongs and checking to see itsprogress.55


