Photo Lab Manual (PDF) - Richland College
Photo Lab Manual (PDF) - Richland College
Photo Lab Manual (PDF) - Richland College

Create successful ePaper yourself
Turn your PDF publications into a flip-book with our unique Google optimized e-Paper software.
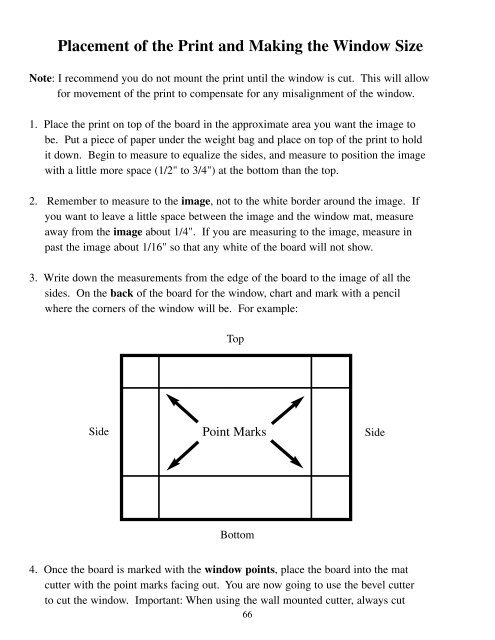
Placement of the Print and Making the Window SizeNote: I recommend you do not mount the print until the window is cut. This will allowfor movement of the print to compensate for any misalignment of the window.1. Place the print on top of the board in the approximate area you want the image tobe. Put a piece of paper under the weight bag and place on top of the print to holdit down. Begin to measure to equalize the sides, and measure to position the imagewith a little more space (1/2" to 3/4") at the bottom than the top.2. Remember to measure to the image, not to the white border around the image. Ifyou want to leave a little space between the image and the window mat, measureaway from the image about 1/4". If you are measuring to the image, measure inpast the image about 1/16" so that any white of the board will not show.3. Write down the measurements from the edge of the board to the image of all thesides. On the back of the board for the window, chart and mark with a pencilwhere the corners of the window will be. For example:TopSidePoint MarksSideBottom4. Once the board is marked with the window points, place the board into the matcutter with the point marks facing out. You are now going to use the bevel cutterto cut the window. Important: When using the wall mounted cutter, always cut66