Onix Installation Manual.qxd - Affordable Home Inspections
Onix Installation Manual.qxd - Affordable Home Inspections
Onix Installation Manual.qxd - Affordable Home Inspections
- No tags were found...

You also want an ePaper? Increase the reach of your titles
YUMPU automatically turns print PDFs into web optimized ePapers that Google loves.
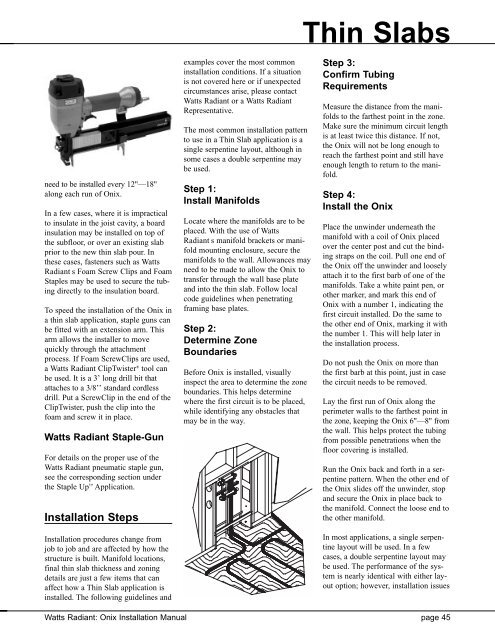
need to be installed every 12"—18"along each run of <strong>Onix</strong>.In a few cases, where it is impracticalto insulate in the joist cavity, a boardinsulation may be installed on top ofthe subfloor, or over an existing slabprior to the new thin slab pour. Inthese cases, fasteners such as WattsRadiant s Foam Screw Clips and FoamStaples may be used to secure the tubingdirectly to the insulation board.To speed the installation of the <strong>Onix</strong> ina thin slab application, staple guns canbe fitted with an extension arm. Thisarm allows the installer to movequickly through the attachmentprocess. If Foam ScrewClips are used,a Watts Radiant ClipTwister ® tool canbe used. It is a 3’ long drill bit thatattaches to a 3/8’’ standard cordlessdrill. Put a ScrewClip in the end of theClipTwister, push the clip into thefoam and screw it in place.Watts Radiant Staple-GunFor details on the proper use of theWatts Radiant pneumatic staple gun,see the corresponding section underthe Staple Up Application.<strong>Installation</strong> Steps<strong>Installation</strong> procedures change fromjob to job and are affected by how thestructure is built. Manifold locations,final thin slab thickness and zoningdetails are just a few items that canaffect how a Thin Slab application isinstalled. The following guidelines andexamples cover the most commoninstallation conditions. If a situationis not covered here or if unexpectedcircumstances arise, please contactWatts Radiant or a Watts RadiantRepresentative.The most common installation patternto use in a Thin Slab application is asingle serpentine layout, although insome cases a double serpentine maybe used.Step 1:Install ManifoldsLocate where the manifolds are to beplaced. With the use of WattsRadiant s manifold brackets or manifoldmounting enclosure, secure themanifolds to the wall. Allowances mayneed to be made to allow the <strong>Onix</strong> totransfer through the wall base plateand into the thin slab. Follow localcode guidelines when penetratingframing base plates.Step 2:Determine ZoneBoundariesBefore <strong>Onix</strong> is installed, visuallyinspect the area to determine the zoneboundaries. This helps determinewhere the first circuit is to be placed,while identifying any obstacles thatmay be in the way.Thin SlabsStep 3:Confirm TubingRequirementsMeasure the distance from the manifoldsto the farthest point in the zone.Make sure the minimum circuit lengthis at least twice this distance. If not,the <strong>Onix</strong> will not be long enough toreach the farthest point and still haveenough length to return to the manifold.Step 4:Install the <strong>Onix</strong>Place the unwinder underneath themanifold with a coil of <strong>Onix</strong> placedover the center post and cut the bindingstraps on the coil. Pull one end ofthe <strong>Onix</strong> off the unwinder and looselyattach it to the first barb of one of themanifolds. Take a white paint pen, orother marker, and mark this end of<strong>Onix</strong> with a number 1, indicating thefirst circuit installed. Do the same tothe other end of <strong>Onix</strong>, marking it withthe number 1. This will help later inthe installation process.Do not push the <strong>Onix</strong> on more thanthe first barb at this point, just in casethe circuit needs to be removed.Lay the first run of <strong>Onix</strong> along theperimeter walls to the farthest point inthe zone, keeping the <strong>Onix</strong> 6"—8" fromthe wall. This helps protect the tubingfrom possible penetrations when thefloor covering is installed.Run the <strong>Onix</strong> back and forth in a serpentinepattern. When the other end ofthe <strong>Onix</strong> slides off the unwinder, stopand secure the <strong>Onix</strong> in place back tothe manifold. Connect the loose end tothe other manifold.In most applications, a single serpentinelayout will be used. In a fewcases, a double serpentine layout maybe used. The performance of the systemis nearly identical with either layoutoption; however, installation issuesWatts Radiant: <strong>Onix</strong> <strong>Installation</strong> <strong>Manual</strong> page 45