chapter 9 advanced features.pdf - Audio Intervisual Design, Inc.
chapter 9 advanced features.pdf - Audio Intervisual Design, Inc.
chapter 9 advanced features.pdf - Audio Intervisual Design, Inc.
Create successful ePaper yourself
Turn your PDF publications into a flip-book with our unique Google optimized e-Paper software.
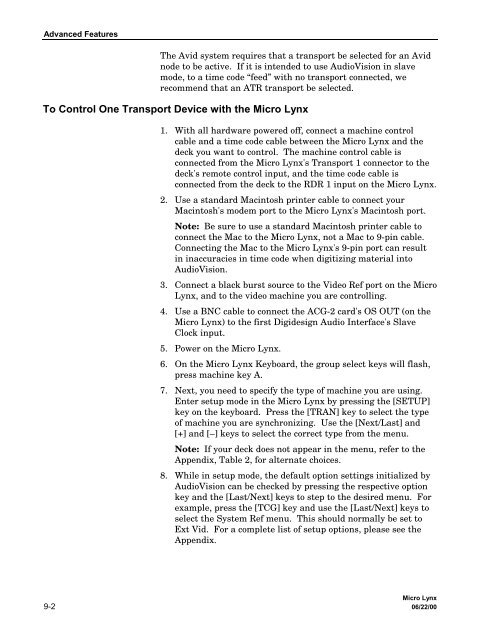
Advanced FeaturesThe Avid system requires that a transport be selected for an Avidnode to be active. If it is intended to use <strong>Audio</strong>Vision in slavemode, to a time code “feed” with no transport connected, werecommend that an ATR transport be selected.To Control One Transport Device with the Micro Lynx1. With all hardware powered off, connect a machine controlcable and a time code cable between the Micro Lynx and thedeck you want to control. The machine control cable isconnected from the Micro Lynx's Transport 1 connector to thedeck's remote control input, and the time code cable isconnected from the deck to the RDR 1 input on the Micro Lynx.2. Use a standard Macintosh printer cable to connect yourMacintosh's modem port to the Micro Lynx's Macintosh port.Note: Be sure to use a standard Macintosh printer cable toconnect the Mac to the Micro Lynx, not a Mac to 9-pin cable.Connecting the Mac to the Micro Lynx's 9-pin port can resultin inaccuracies in time code when digitizing material into<strong>Audio</strong>Vision.3. Connect a black burst source to the Video Ref port on the MicroLynx, and to the video machine you are controlling.4. Use a BNC cable to connect the ACG-2 card's OS OUT (on theMicro Lynx) to the first Digidesign <strong>Audio</strong> Interface's SlaveClock input.5. Power on the Micro Lynx.6. On the Micro Lynx Keyboard, the group select keys will flash,press machine key A.7. Next, you need to specify the type of machine you are using.Enter setup mode in the Micro Lynx by pressing the [SETUP]key on the keyboard. Press the [TRAN] key to select the typeof machine you are synchronizing. Use the [Next/Last] and[+] and [–] keys to select the correct type from the menu.Note: If your deck does not appear in the menu, refer to theAppendix, Table 2, for alternate choices.8. While in setup mode, the default option settings initialized by<strong>Audio</strong>Vision can be checked by pressing the respective optionkey and the [Last/Next] keys to step to the desired menu. Forexample, press the [TCG] key and use the [Last/Next] keys toselect the System Ref menu. This should normally be set toExt Vid. For a complete list of setup options, please see theAppendix.Micro Lynx9-2 06/22/00


