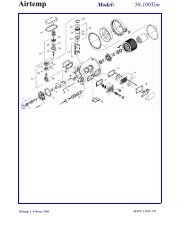
SERVICE MANUAL for MODEL AirV Rooftop Air Conditioning Systems
SERVICE MANUAL for MODEL AirV Rooftop Air Conditioning Systems
SERVICE MANUAL for MODEL AirV Rooftop Air Conditioning Systems
- No tags were found...

You also want an ePaper? Increase the reach of your titles
YUMPU automatically turns print PDFs into web optimized ePapers that Google loves.
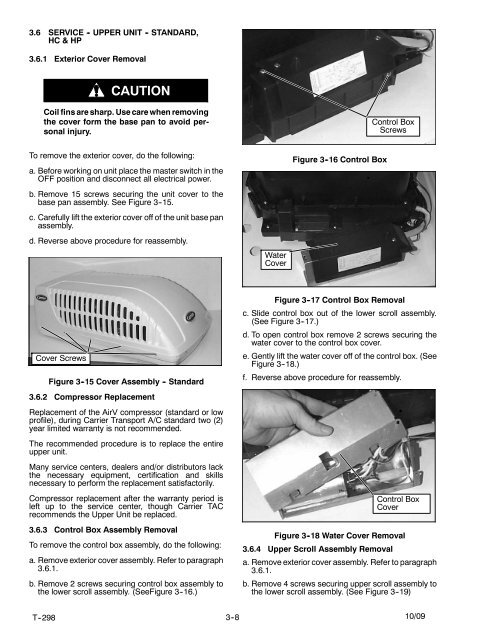
3.6 <strong>SERVICE</strong> - UPPER UNIT - STANDARD,HC&HP3.6.1 Exterior Cover RemovalCAUTIONCoil fins are sharp. Use care when removingthe cover <strong>for</strong>m the base pan to avoid personalinjury.Control BoxScrewsTo remove the exterior cover, do the following:a. Be<strong>for</strong>e working on unit place the master switch in theOFF position and disconnect all electrical power.b. Remove 15 screws securing the unit cover to thebase pan assembly. See Figure 3--15.c. Carefully lift the exterior cover off of the unit base panassembly.d. Reverse above procedure <strong>for</strong> reassembly.WaterCoverFigure 3 -16 Control BoxCover ScrewsFigure 3 -15 Cover Assembly - Standard3.6.2 Compressor ReplacementReplacement of the <strong><strong>Air</strong>V</strong> compressor (standard or lowprofile), during Carrier Transport A/C standard two (2)year limited warranty is not recommended.The recommended procedure is to replace the entireupper unit.Many service centers, dealers and/or distributors lackthe necessary equipment, certification and skillsnecessary to per<strong>for</strong>m the replacement satisfactorily.Compressor replacement after the warranty period isleft up to the service center, though Carrier TACrecommends the Upper Unit be replaced.3.6.3 Control Box Assembly RemovalTo remove the control box assembly, do the following:a. Remove exterior cover assembly. Refer to paragraph3.6.1.b. Remove 2 screws securing control box assembly tothe lower scroll assembly. (SeeFigure 3--16.)Figure 3 -17 Control Box Removalc. Slide control box out of the lower scroll assembly.(See Figure 3--17.)d. To open control box remove 2 screws securing thewater cover to the control box cover.e. Gently lift the water cover off of the control box. (SeeFigure 3--18.)f. Reverse above procedure <strong>for</strong> reassembly.Control BoxCoverFigure 3 -18 Water Cover Removal3.6.4 Upper Scroll Assembly Removala. Remove exterior cover assembly. Refer to paragraph3.6.1.b. Remove 4 screws securing upper scroll assembly tothe lower scroll assembly. (See Figure 3--19)T--298 3--8 10/09