

QUILTsocial | Issue 07
I'm so excited to share this issue with you, within it there are treasures of quilting know-how that will help you improve your quilting skills. One of my challenges is sewing Y seams, and who doesn't struggle with these at first? Follow the instructions and you'll be well on your way to achieving perfect results. Other essential skills you'll want to hone are achieving perfect points every time using easy foundation piecing, 2 ways to machine quilt a binding, improving your 5 quilt label essentials and the 7 critical questions to ask yourself before quilting your quilt. Plus...expand your creativity using Northcott ColorWorks Concepts fabric, using bright and colorful patterns that engage your quilting senses! Enjoy the patterns in this issue, and Happy Quilting!
I'm so excited to share this issue with you, within it there are treasures of quilting know-how that will help you improve your quilting skills. One of my challenges is sewing Y seams, and who doesn't struggle with these at first? Follow the instructions and you'll be well on your way to achieving perfect results. Other essential skills you'll want to hone are achieving perfect points every time using easy foundation piecing, 2 ways to machine quilt a binding, improving your 5 quilt label essentials and the 7 critical questions to ask yourself before quilting your quilt. Plus...expand your creativity using Northcott ColorWorks Concepts fabric, using bright and colorful patterns that engage your quilting senses! Enjoy the patterns in this issue, and Happy Quilting!

Create successful ePaper yourself
Turn your PDF publications into a flip-book with our unique Google optimized e-Paper software.
Start by anchoring the beginning of<br />
the line of stitching with a few very tiny<br />
stitches. This is very easy to do since<br />
you're completely in control over the<br />
length of the stitch. Slowly start the<br />
sewing machine and move your fabric<br />
slightly while you take a couple of stitches.<br />
Once you have your anchoring stitches,<br />
you can bring the machine up to the<br />
speed you're comfortable with and stitch<br />
to the end.<br />
Just before you get to the end of your<br />
line of stitching, slow the sewing<br />
machine down and take a couple of<br />
small stitches to anchor the end of<br />
the line of stitching. Then use manual<br />
scissors to clip the top and bottom<br />
threads. Scissors can be used on the<br />
sewing machine, but I really like to<br />
control the length of those threads<br />
and I'll always have a long tail on the<br />
bobbin to bring to the top if I cut<br />
those threads manually.<br />
After filling the bobbin and placing it<br />
back in the bobbin case, I again bring<br />
that bobbin thread up to the top<br />
(sometimes this is hard if you've cut the<br />
bobbin thread short when inserting it<br />
into the bobbin case). I often leave that<br />
bobbin thread long so I'm in control of<br />
the length at all times.<br />
I start about ½'' over the previous<br />
stitches. I take one or two tiny stitches<br />
to anchor the end, then go into<br />
my previous stitches to secure the<br />
beginning of the new line. This is best<br />
done manually to get the new stitches<br />
to follow the same stitch length as<br />
the old stitches. Then finish the line of<br />
stitching.<br />
Using the Needle Stop Up/Down, the<br />
needle would stop in the fabric block at<br />
each corner, making it very easy to pivot.<br />
Once I had that first row of stitching, I<br />
just moved the block around without<br />
pivoting to get the quilting design.<br />
That's a lot of information to digest,<br />
but the bottom line is that using the<br />
Husqvarna Viking Sapphire 960Q to quilt<br />
these rag quilt blocks was so easy that I<br />
was kind of disappointed when I ran out<br />
of squares.<br />
Not to worry as I have a couple of other<br />
projects in the wings that I can pull out.<br />
But quilting these small squares is a great<br />
way to try a new design or perfect your<br />
stitch length and it's a rag quilt. These<br />
quilts are meant to be loved, used as a<br />
car quilt, used for the dog. It's a super<br />
quilt to practice on and uses up a lot of<br />
scraps. Have a great day! Ciao!<br />
Elaine Therault<br />
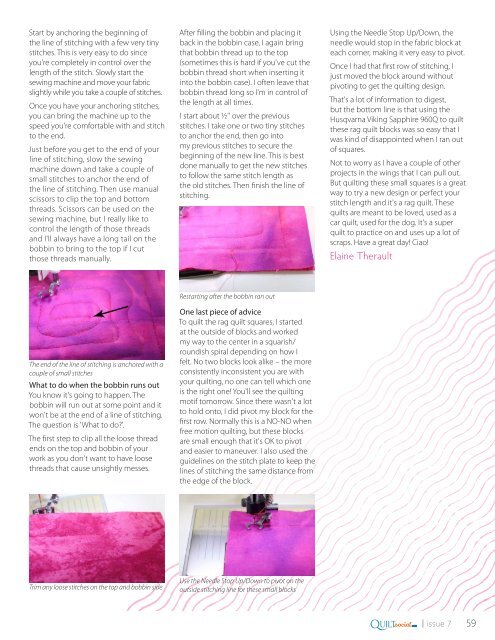
The end of the line of stitching is anchored with a<br />
couple of small stitches<br />
What to do when the bobbin runs out<br />
You know it's going to happen. The<br />
bobbin will run out at some point and it<br />
won't be at the end of a line of stitching.<br />
The question is 'What to do?'.<br />
The first step to clip all the loose thread<br />
ends on the top and bobbin of your<br />
work as you don't want to have loose<br />
threads that cause unsightly messes.<br />
Restarting after the bobbin ran out<br />
One last piece of advice<br />
To quilt the rag quilt squares, I started<br />
at the outside of blocks and worked<br />
my way to the center in a squarish/<br />
roundish spiral depending on how I<br />
felt. No two blocks look alike – the more<br />
consistently inconsistent you are with<br />
your quilting, no one can tell which one<br />
is the right one! You'll see the quilting<br />
motif tomorrow. Since there wasn't a lot<br />
to hold onto, I did pivot my block for the<br />
first row. Normally this is a NO-NO when<br />
free motion quilting, but these blocks<br />
are small enough that it's OK to pivot<br />
and easier to maneuver. I also used the<br />
guidelines on the stitch plate to keep the<br />
lines of stitching the same distance from<br />
the edge of the block.<br />
Trim any loose stitches on the top and bobbin side<br />
Use the Needle Stop Up/Down to pivot on the<br />
outside stitching line for these small blocks<br />
Q<br />
.com<br />
UILTsocial<br />
| issue 7 59


