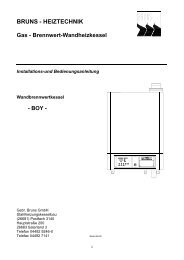
Installation and Operating Instruction
Installation and Operating Instruction
Installation and Operating Instruction

Create successful ePaper yourself
Turn your PDF publications into a flip-book with our unique Google optimized e-Paper software.
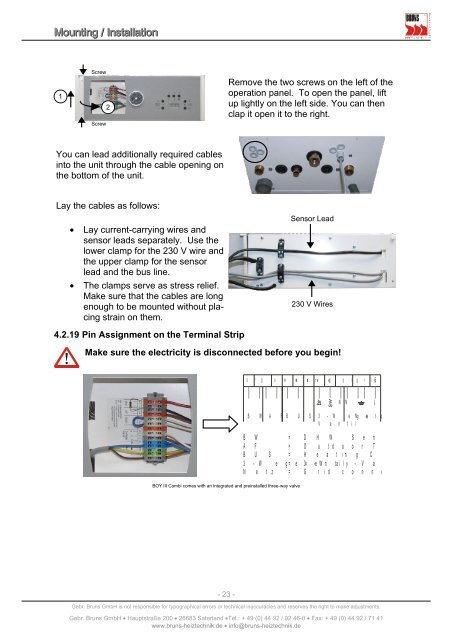
Mounting / <strong>Installation</strong><br />
1<br />
Screw<br />
Screw<br />
2<br />
You can lead additionally required cables<br />
into the unit through the cable opening on<br />
the bottom of the unit.<br />
Lay the cables as follows:<br />
• Lay current-carrying wires <strong>and</strong><br />
sensor leads separately. Use the<br />
lower clamp for the 230 V wire <strong>and</strong><br />
the upper clamp for the sensor<br />
lead <strong>and</strong> the bus line.<br />
• The clamps serve as stress relief.<br />
Make sure that the cables are long<br />
enough to be mounted without placing<br />
strain on them.<br />
4.2.19 Pin Assignment on the Terminal Strip<br />
Remove the two screws on the left of the<br />
operation panel. To open the panel, lift<br />
up lightly on the left side. You can then<br />
clap it open it to the right.<br />
Sensor Lead<br />
230 V Wires<br />
Make sure the electricity is disconnected before you begin!<br />
BOY III Combi comes with an integrated <strong>and</strong> preinstalled three-way valve<br />
- 23 -<br />
o r g o r w ew eo r w eg b l g r / gG e<br />
B W A F B U S 3 - W e Ng e t z<br />
V e n t i l<br />
N<br />
N<br />
B W<br />
= D H W S e n s o r<br />
A F<br />
= O u t d o o r T e m p . S e n<br />
B U S<br />
= H e a t i n g C o n t r o l l e r<br />
3 - W e g = e 3v -e W n t a i l y - V a l v e<br />
N e t z<br />
= G r i d c o n n e c t i o n ~ 2<br />
Gebr. Bruns GmbH is not responsible for typographical errors or technical inaccuracies <strong>and</strong> reserves the right to make adjustments.<br />
Gebr. Bruns GmbH • Hauptstraße 200 • 26683 Saterl<strong>and</strong> •Tel.: + 49 (0) 44 92 / 92 46-0 • Fax: + 49 (0) 44 92 / 71 41<br />
www.bruns-heiztechnik.de • info@bruns-heiztechnik.de<br />
L