
Create successful ePaper yourself
Turn your PDF publications into a flip-book with our unique Google optimized e-Paper software.
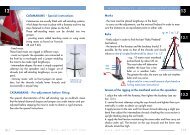
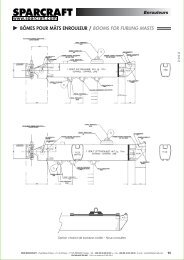
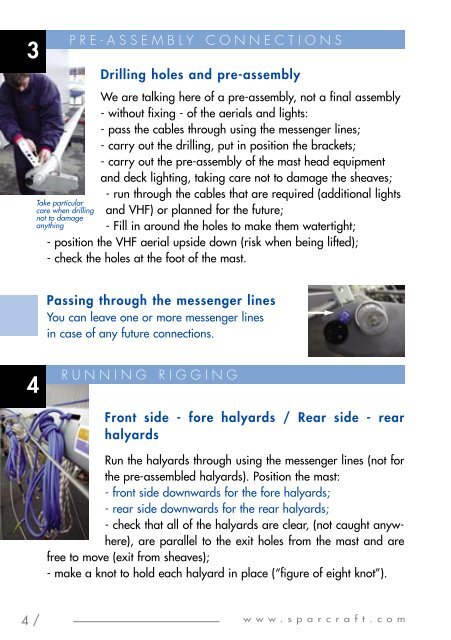
3Drilling holes and pre-assemblyWe are talking here of a pre-assembly, not a final assembly- without fixing - of the aerials and lights:- pass the cables through using the messenger lines;- carry out the drilling, put in position the brackets;- carry out the pre-assembly of the mast head equipmentand <strong>de</strong>ck lighting, taking care not to damage the sheaves;- run through the cables that are required (additional lightsand VHF) or planned for the future;- Fill in around the holes to make them watertight;- position the VHF aerial upsi<strong>de</strong> down (risk when being lifted);- check the holes at the foot of the mast.Take particularcare when drillingnot to damageanythingPRE-ASSEMBLY CONNECTIONSPassing through the messenger linesYou can leave one or more messenger linesin case of any future connections.4RUNNING RIGGINGFront si<strong>de</strong> - fore halyards / Rear si<strong>de</strong> - rearhalyardsRun the halyards through using the messenger lines (not forthe pre-assembled halyards). Position the mast:- front si<strong>de</strong> downwards for the fore halyards;- rear si<strong>de</strong> downwards for the rear halyards;- check that all of the halyards are clear, (not caught anywhere),are parallel to the exit holes from the mast and arefree to move (exit from sheaves);- make a knot to hold each halyard in place (“figure of eight knot”).4 /www.<strong>sparcraft</strong>.com