PT - Vanden Borre
PT - Vanden Borre
PT - Vanden Borre

You also want an ePaper? Increase the reach of your titles
YUMPU automatically turns print PDFs into web optimized ePapers that Google loves.
3.7<br />
Switching<br />
beeps<br />
on/off<br />
4 Operation<br />
4.1<br />
Fitting the cuff<br />
Downloaded from www.vandenborre.be<br />
3 Getting Started / 4 Operation<br />
4.2<br />
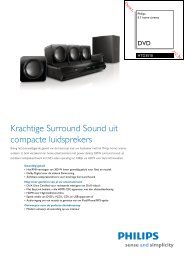
• Take readings while in a seated position.<br />
Correct position • Relax your arm and rest it lightly on a surface such as a table. Relax during<br />
for taking readings the measuring process: do not move or talk, as this can affect the results.<br />
4.3<br />
Taking blood<br />
pressure readings<br />
Beeps sound when you take a measurement using the MTX blood pressure<br />
meter. You can switch off the beeps by making the following setting.<br />
1. To switch between “beep on” and “beep off”, press and hold the TIMER<br />
button until and “ “ appear flashing in the display.<br />
2. Press the TIMER button again. “ ” appears in the display,<br />
followed by “ “.<br />
3. Press the MEMO button to switch between “ “ and “ “.<br />
4. Confirm your selection by pressing the START button (or press the<br />
TIMER button to make the next setting: “ Switch radio clock on/off “,<br />
see section 3, subsection 3.3, point 4).<br />
If you select “ “, the beep function remains switched off when you<br />
take measurements.<br />
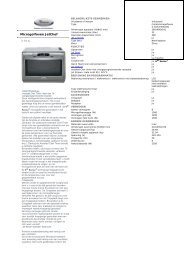
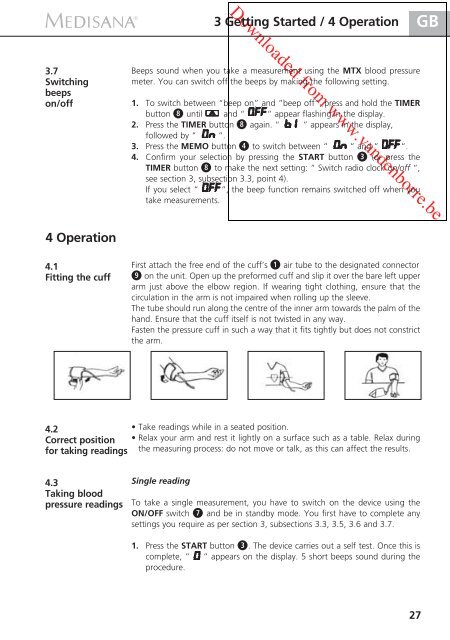
First attach the free end of the cuff’s air tube to the designated connector<br />
on the unit. Open up the preformed cuff and slip it over the bare left upper<br />
arm just above the elbow region. If wearing tight clothing, ensure that the<br />
circulation in the arm is not impaired when rolling up the sleeve.<br />
The tube should run along the centre of the inner arm towards the palm of the<br />
hand. Ensure that the cuff itself is not twisted in any way.<br />
Fasten the pressure cuff in such a way that it fits tightly but does not constrict<br />
the arm.<br />
Single reading<br />
To take a single measurement, you have to switch on the device using the<br />
ON/OFF switch and be in standby mode. You first have to complete any<br />
settings you require as per section 3, subsections 3.3, 3.5, 3.6 and 3.7.<br />
1. Press the START button . The device carries out a self test. Once this is<br />
complete, “ “ appears on the display. 5 short beeps sound during the<br />
procedure.<br />
27<br />
GB