PT - Vanden Borre
PT - Vanden Borre
PT - Vanden Borre
Create successful ePaper yourself
Turn your PDF publications into a flip-book with our unique Google optimized e-Paper software.
Downloaded from www.vandenborre.be<br />
4 Operation<br />
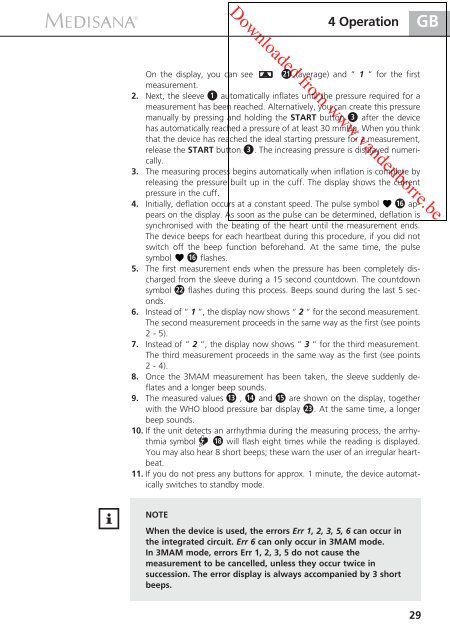
On the display, you can see (average) and “ 1 “ for the first<br />
measurement.<br />
2. Next, the sleeve automatically inflates until the pressure required for a<br />
measurement has been reached. Alternatively, you can create this pressure<br />
manually by pressing and holding the START button after the device<br />
has automatically reached a pressure of at least 30 mmHg. When you think<br />
that the device has reached the ideal starting pressure for a measurement,<br />
release the START button . The increasing pressure is displayed numerically.<br />
3. The measuring process begins automatically when inflation is complete by<br />
releasing the pressure built up in the cuff. The display shows the current<br />
pressure in the cuff.<br />
4. Initially, deflation occurs at a constant speed. The pulse symbol appears<br />
on the display. As soon as the pulse can be determined, deflation is<br />
synchronised with the beating of the heart until the measurement ends.<br />
The device beeps for each heartbeat during this procedure, if you did not<br />
switch off the beep function beforehand. At the same time, the pulse<br />
symbol flashes.<br />
5. The first measurement ends when the pressure has been completely discharged<br />
from the sleeve during a 15 second countdown. The countdown<br />
symbol flashes during this process. Beeps sound during the last 5 seconds.<br />
6. Instead of “ 1 “, the display now shows “ 2 “ for the second measurement.<br />
The second measurement proceeds in the same way as the first (see points<br />
2 - 5).<br />
7. Instead of “ 2 “, the display now shows “ 3 “ for the third measurement.<br />
The third measurement proceeds in the same way as the first (see points<br />
2 - 4).<br />
8. Once the 3MAM measurement has been taken, the sleeve suddenly deflates<br />
and a longer beep sounds.<br />
9. The measured values , and are shown on the display, together<br />
with the WHO blood pressure bar display . At the same time, a longer<br />
beep sounds.<br />
10. If the unit detects an arrhythmia during the measuring process, the arrhythmia<br />
symbol will flash eight times while the reading is displayed.<br />
You may also hear 8 short beeps; these warn the user of an irregular heartbeat.<br />
11. If you do not press any buttons for approx. 1 minute, the device automatically<br />
switches to standby mode.<br />
NOTE<br />
When the device is used, the errors Err 1, 2, 3, 5, 6 can occur in<br />
the integrated circuit. Err 6 can only occur in 3MAM mode.<br />
In 3MAM mode, errors Err 1, 2, 3, 5 do not cause the<br />
measurement to be cancelled, unless they occur twice in<br />
succession. The error display is always accompanied by 3 short<br />
beeps.<br />
29<br />
GB


