english
english
english

Create successful ePaper yourself
Turn your PDF publications into a flip-book with our unique Google optimized e-Paper software.
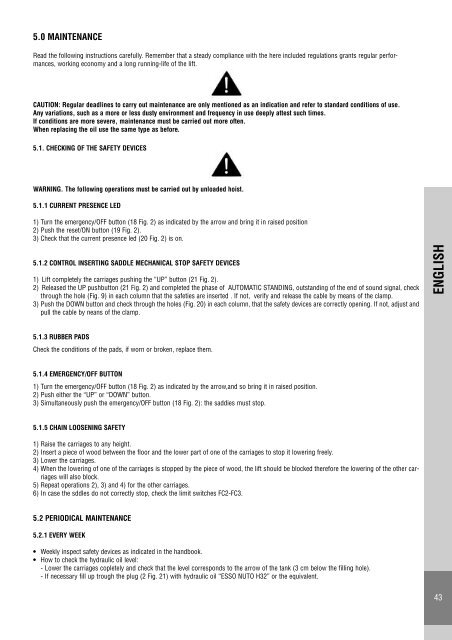
5.0 MAINTENANCE<br />
Read the following instructions carefully. Remember that a steady compliance with the here included regulations grants regular performances,<br />
working economy and a long running-life of the lift.<br />
CAUTION: Regular deadlines to carry out maintenance are only mentioned as an indication and refer to standard conditions of use.<br />
Any variations, such as a more or less dusty environment and frequency in use deeply attest such times.<br />
If conditions are more severe, maintenance must be carried out more often.<br />
When replacing the oil use the same type as before.<br />
5.1. CHECKING OF THE SAFETY DEVICES<br />
WARNING. The following operations must be carried out by unloaded hoist.<br />
5.1.1 CURRENT PRESENCE LED<br />
1) Turn the emergency/OFF button (18 Fig. 2) as indicated by the arrow and bring it in raised position<br />
2) Push the reset/ON button (19 Fig. 2).<br />
3) Check that the current presence led (20 Fig. 2) is on.<br />
5.1.2 CONTROL INSERTING SADDLE MECHANICAL STOP SAFETY DEVICES<br />
1) Lift completely the carriages pushing the “UP” button (21 Fig. 2).<br />
2) Released the UP pushbutton (21 Fig. 2) and completed the phase of AUTOMATIC STANDING, outstanding of the end of sound signal, check<br />
through the hole (Fig. 9) in each column that the safeties are inserted . If not, verify and release the cable by means of the clamp.<br />
3) Push the DOWN button and check through the holes (Fig. 20) in each column, that the safety devices are correctly opening. If not, adjust and<br />
pull the cable by neans of the clamp.<br />
5.1.3 RUBBER PADS<br />
Check the conditions of the pads, if worn or broken, replace them.<br />
5.1.4 EMERGENCY/OFF BUTTON<br />
1) Turn the emergency/OFF button (18 Fig. 2) as indicated by the arrow,and so bring it in raised position.<br />
2) Push either the “UP” or “DOWN” button.<br />
3) Simultaneously push the emergency/OFF button (18 Fig. 2): the saddies must stop.<br />
5.1.5 CHAIN LOOSENING SAFETY<br />
1) Raise the carriages to any height.<br />
2) Insert a piece of wood between the floor and the lower part of one of the carriages to stop it lowering freely.<br />
3) Lower the carriages.<br />
4) When the lowering of one of the carriages is stopped by the piece of wood, the lift should be blocked therefore the lowering of the other carriages<br />
will also block.<br />
5) Repeat operations 2), 3) and 4) for the other carriages.<br />
6) In case the sddles do not correctly stop, check the limit switches FC2-FC3.<br />
5.2 PERIODICAL MAINTENANCE<br />
5.2.1 EVERY WEEK<br />
• Weekly inspect safety devices as indicated in the handbook.<br />
• How to check the hydraulic oil level:<br />
- Lower the carriages copletely and check that the level corresponds to the arrow of the tank (3 cm below the filling hole).<br />
- If necessary fill up trough the plug (2 Fig. 21) with hydraulic oil “ESSO NUTO H32” or the equivalent.<br />
ENGLISH<br />
43