Sony XAV-W1 Car Radio OWNER'S MANUAL Operating Instructions ...
Sony XAV-W1 Car Radio OWNER'S MANUAL Operating Instructions ...
Sony XAV-W1 Car Radio OWNER'S MANUAL Operating Instructions ...

Sie wollen auch ein ePaper? Erhöhen Sie die Reichweite Ihrer Titel.
YUMPU macht aus Druck-PDFs automatisch weboptimierte ePaper, die Google liebt.
1 While the unit is off, touch “SETUP,”<br />
the “Sound” tab, then to proceed.<br />
The “Speaker Setting” display appears.<br />
The setting of center speaker/subwoofer<br />
connection status made in initial settings<br />
(page 14) are shown.<br />
2 Touch “Center Speaker” or<br />
“Subwoofer,” then “ON” or “OFF.”<br />
The setting is complete.<br />
To return to the previous display, touch .<br />
To close the setup menu, touch “SETUP.”<br />
Note<br />
If you set to “Center Speaker ON” without connecting<br />
the center speaker, vocal sound is not output, and if<br />
you set to “Subwoofer ON” without connecting the<br />
subwoofer, bass sound is not output.<br />
Adjusting the speaker volume<br />
You can adjust the volume level of each<br />
connected speaker.<br />
The adjustable speakers are “Front R” (Front<br />
Right), “Front L” (Front Left), “Surround L”<br />
(Rear Left), “Surround R” (Rear Right),<br />
“Center*,” and “Subwoofer*.”<br />
* Adjustable only when a center speaker is connected<br />
and set to “Center Speaker ON” (page 34), and a<br />
subwoofer is connected and set to “Subwoofer ON”<br />
(page 34).<br />
1 While the unit is off, touch “SETUP,”<br />
the “Sound” tab, then to proceed.<br />
The “Speaker Setting” display appears.<br />
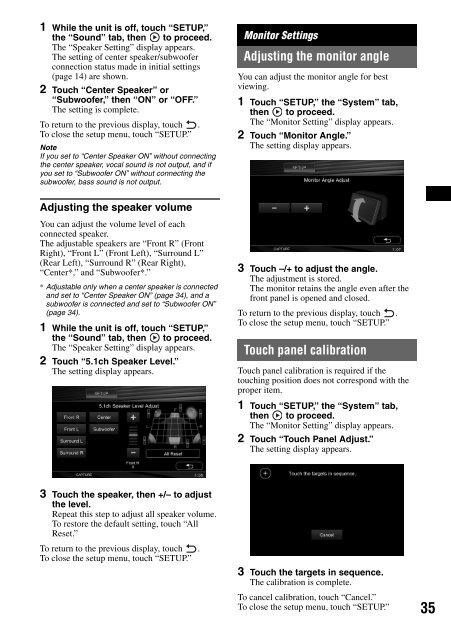
2 Touch “5.1ch Speaker Level.”<br />
The setting display appears.<br />
3 Touch the speaker, then +/– to adjust<br />
the level.<br />
Repeat this step to adjust all speaker volume.<br />
To restore the default setting, touch “All<br />
Reset.”<br />
To return to the previous display, touch .<br />
To close the setup menu, touch “SETUP.”<br />
Monitor Settings<br />
Adjusting the monitor angle<br />
You can adjust the monitor angle for best<br />
viewing.<br />
1 Touch “SETUP,” the “System” tab,<br />
then to proceed.<br />
The “Monitor Setting” display appears.<br />
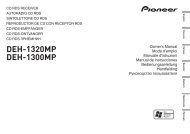
2 Touch “Monitor Angle.”<br />
The setting display appears.<br />
3 Touch –/+ to adjust the angle.<br />
The adjustment is stored.<br />
The monitor retains the angle even after the<br />
front panel is opened and closed.<br />
To return to the previous display, touch .<br />
To close the setup menu, touch “SETUP.”<br />
Touch panel calibration<br />
Touch panel calibration is required if the<br />
touching position does not correspond with the<br />
proper item.<br />
1 Touch “SETUP,” the “System” tab,<br />
then to proceed.<br />
The “Monitor Setting” display appears.<br />
2 Touch “Touch Panel Adjust.”<br />
The setting display appears.<br />
3 Touch the targets in sequence.<br />
The calibration is complete.<br />
To cancel calibration, touch “Cancel.”<br />
To close the setup menu, touch “SETUP.”<br />
35