Water Starlet - Neogard AG
Water Starlet - Neogard AG
Water Starlet - Neogard AG
Sie wollen auch ein ePaper? Erhöhen Sie die Reichweite Ihrer Titel.
YUMPU macht aus Druck-PDFs automatisch weboptimierte ePaper, die Google liebt.
- GB -<br />
Pos: 53 /Lampen/Wasserspieltechnik/<strong>Water</strong>-Trio/Quintet/SIC Sicherer Betrieb <strong>Water</strong> Trio/Quintet @ 8\mod_1223631813193_121.doc @ 54204<br />
Safe operation of the unit<br />
− Keep socket and power plug dry.<br />
− Route the power cables so that damage is excluded.<br />
− Do not carry or pull the units by the connection cables. The power connection cables cannot be replaced. If the<br />
cable is damaged, the entire unit has to be disposed of.<br />
− Never run the pump without water! Otherwise the pump will be destroyed.<br />
− Never use the pump for fluids other than water. Other fluids could destroy the unit.<br />
− Never open the unit or its attendant components, unless this is explicitly mentioned in the operating instructions.<br />
− Never carry out technical modifications to the unit.<br />
− Only use original spare parts and original accessories for the unit. Only have repairs carried out by authorised<br />
customer service points.<br />
− Never look directly into the light source of the unit. The light beam's intensity could irreversibly damage the retina.<br />
Pos: 54 /Alle Produkte/Überschriften/H1 Aufstellen, Anschließen und Ausrichten @ 8\mod_1219227574009_121.doc @ 50086<br />
Installation, connection and alignment<br />
Pos: 55 /Lampen/Wasserspieltechnik/<strong>Water</strong>-<strong>Starlet</strong>/Aufstellen, Anschließen und Ausrichten <strong>Water</strong>-<strong>Starlet</strong> @ 8\mod_1219143122132_121.doc @ 49877<br />
8<br />
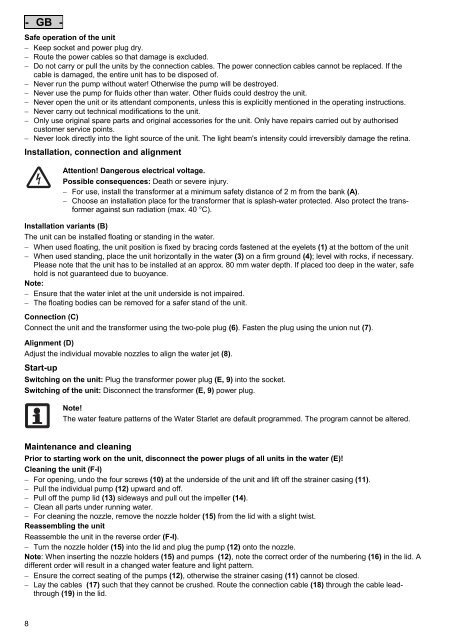
Attention! Dangerous electrical voltage.<br />
Possible consequences: Death or severe injury.<br />
− For use, install the transformer at a minimum safety distance of 2 m from the bank (A).<br />
− Choose an installation place for the transformer that is splash-water protected. Also protect the transformer<br />
against sun radiation (max. 40 °C).<br />
Installation variants (B)<br />
The unit can be installed floating or standing in the water.<br />
− When used floating, the unit position is fixed by bracing cords fastened at the eyelets (1) at the bottom of the unit<br />
− When used standing, place the unit horizontally in the water (3) on a firm ground (4); level with rocks, if necessary.<br />
Please note that the unit has to be installed at an approx. 80 mm water depth. If placed too deep in the water, safe<br />
hold is not guaranteed due to buoyance.<br />
Note:<br />
− Ensure that the water inlet at the unit underside is not impaired.<br />
− The floating bodies can be removed for a safer stand of the unit.<br />
Connection (C)<br />
Connect the unit and the transformer using the two-pole plug (6). Fasten the plug using the union nut (7).<br />
Alignment (D)<br />
Adjust the individual movable nozzles to align the water jet (8).<br />
Pos: 56 /Alle Produkte/Überschriften/H1 Inbetriebnahme @ 7\mod_1196625111244_121.doc @ 41417<br />
Start-up<br />
Pos: 57 /Lampen/Wasserspieltechnik/<strong>Water</strong>-<strong>Starlet</strong>/Inbetriebnahme <strong>Water</strong>-<strong>Starlet</strong> @ 8\mod_1219145093426_121.doc @ 49903<br />
Switching on the unit: Plug the transformer power plug (E, 9) into the socket.<br />
Switching of the unit: Disconnect the transformer (E, 9) power plug.<br />
Note!<br />
The water feature patterns of the <strong>Water</strong> <strong>Starlet</strong> are default programmed. The program cannot be altered.<br />
Pos: 58 /Alle Produkte/Überschriften/H1 Reinigung und Wartung @ 7\mod_1196625212761_121.doc @ 41469<br />
Maintenance and cleaning<br />
Pos: 59 /Lampen/Wasserspieltechnik/<strong>Water</strong>-<strong>Starlet</strong>/Reinigung und Wartung <strong>Water</strong>-<strong>Starlet</strong> @ 8\mod_1219145205833_121.doc @ 49929<br />
Prior to starting work on the unit, disconnect the power plugs of all units in the water (E)!<br />
Cleaning the unit (F-I)<br />
− For opening, undo the four screws (10) at the underside of the unit and lift off the strainer casing (11).<br />
− Pull the individual pump (12) upward and off.<br />
− Pull off the pump lid (13) sideways and pull out the impeller (14).<br />
− Clean all parts under running water.<br />
− For cleaning the nozzle, remove the nozzle holder (15) from the lid with a slight twist.<br />
Reassembling the unit<br />
Reassemble the unit in the reverse order (F-I).<br />
− Turn the nozzle holder (15) into the lid and plug the pump (12) onto the nozzle.<br />
Note: When inserting the nozzle holders (15) and pumps (12), note the correct order of the numbering (16) in the lid. A<br />
different order will result in a changed water feature and light pattern.<br />
− Ensure the correct seating of the pumps (12), otherwise the strainer casing (11) cannot be closed.<br />
− Lay the cables (17) such that they cannot be crushed. Route the connection cable (18) through the cable leadthrough<br />
(19) in the lid.<br />
Pos: 60 /Alle Produkte/Überschriften/H1 Lagern / Überwintern @ 7\mod_1196625251745_121.doc @ 41495


