21 TRV Fireplace - Lopi
21 TRV Fireplace - Lopi
21 TRV Fireplace - Lopi

Create successful ePaper yourself
Turn your PDF publications into a flip-book with our unique Google optimized e-Paper software.
24 Installation (for qualified installers only)<br />
Approved Vent<br />
• Rear vent configurations use 8" diameter Simpson Dura-Vent Model GS or Pro vent.<br />
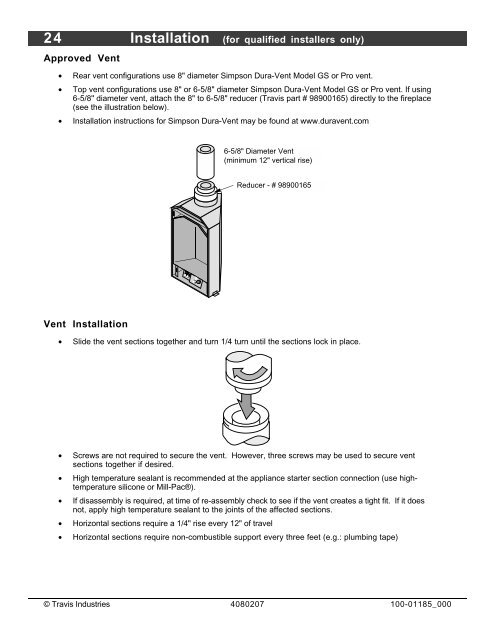
• Top vent configurations use 8" or 6-5/8" diameter Simpson Dura-Vent Model GS or Pro vent. If using<br />
6-5/8" diameter vent, attach the 8" to 6-5/8" reducer (Travis part # 98900165) directly to the fireplace<br />
(see the illustration below).<br />
• Installation instructions for Simpson Dura-Vent may be found at www.duravent.com<br />
Vent Installation<br />
6-5/8" Diameter Vent<br />
(minimum 12" vertical rise)<br />
Reducer - # 98900165<br />
• Slide the vent sections together and turn 1/4 turn until the sections lock in place.<br />
• Screws are not required to secure the vent. However, three screws may be used to secure vent<br />
sections together if desired.<br />
• High temperature sealant is recommended at the appliance starter section connection (use hightemperature<br />
silicone or Mill-Pac®).<br />
• If disassembly is required, at time of re-assembly check to see if the vent creates a tight fit. If it does<br />
not, apply high temperature sealant to the joints of the affected sections.<br />
• Horizontal sections require a 1/4" rise every 12" of travel<br />
• Horizontal sections require non-combustible support every three feet (e.g.: plumbing tape)<br />
© Travis Industries 4080207 100-01185_000