WORKSHOP MANUAL for HEINKEL TOURIST - Secret Society ...
WORKSHOP MANUAL for HEINKEL TOURIST - Secret Society ...
WORKSHOP MANUAL for HEINKEL TOURIST - Secret Society ...
Create successful ePaper yourself
Turn your PDF publications into a flip-book with our unique Google optimized e-Paper software.
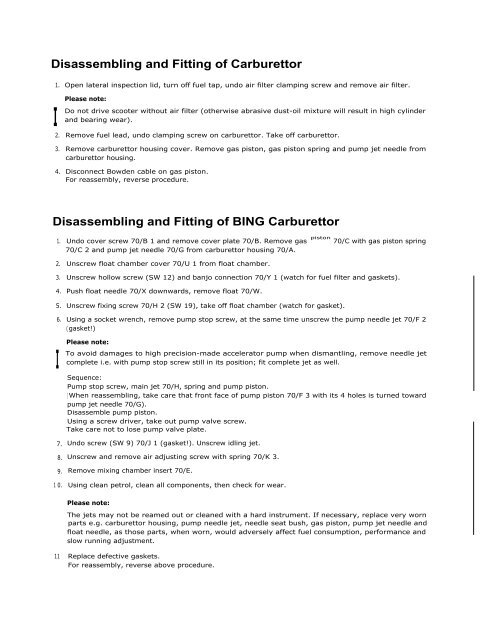
Disassembling and Fitting of Carburettor<br />
1. Open lateral inspection lid, turn off fuel tap, undo air filter clamping screw and remove air filter.<br />
I<br />
Please note:<br />
Do not drive scooter without air filter (otherwise abrasive dust-oil mixture will result in high cylinder<br />
and bearing wear).<br />
2. Remove fuel lead, undo clamping screw on carburettor. Take off carburettor.<br />
3. Remove carburettor housing cover. Remove gas piston, gas piston spring and pump jet needle from<br />
carburettor housing.<br />
4. Disconnect Bowden cable on gas piston.<br />
For reassembly, reverse procedure.<br />
Disassembling and Fitting of BING Carburettor<br />
1. Undo cover screw 70/B 1 and remove cover plate 70/B. Remove gas piston 70/C with gas piston spring<br />
70/C 2 and pump jet needle 70/G from carburettor housing 70/A.<br />
2. Unscrew float chamber cover 70/U 1 from float chamber.<br />
3. Unscrew hollow screw (SW 12) and banjo connection 70/Y 1 (watch <strong>for</strong> fuel filter and gaskets).<br />
4. Push float needle 70/X downwards, remove float 70/W.<br />
5. Unscrew fixing screw 70/H 2 (SW 19), take off float chamber (watch <strong>for</strong> gasket).<br />
6. Using a socket wrench, remove pump stop screw, at the same time unscrew the pump needle jet 70/F 2<br />
( gasket!)<br />
I<br />
Please note:<br />
To avoid damages to high precision-made accelerator pump when dismantling, remove needle jet<br />
complete i.e. with pump stop screw still in its position; fit complete jet as well.<br />
Sequence:<br />
Pump stop screw, main jet 70/H, spring and pump piston.<br />
(When reassembling, take care that front face of pump piston 70/F 3 with its 4 holes is turned toward<br />
pump jet needle 70/G).<br />
Disassemble pump piston.<br />
Using a screw driver, take out pump valve screw.<br />
Take care not to lose pump valve plate.<br />
7. Undo screw (SW 9) 70/J 1 (gasket!). Unscrew idling jet.<br />
8. Unscrew and remove air adjusting screw with spring 70/K 3.<br />
9. Remove mixing chamber insert 70/E.<br />
1 0. Using clean petrol, clean all components, then check <strong>for</strong> wear.<br />
Please note:<br />
The jets may not be reamed out or cleaned with a hard instrument. If necessary, replace very worn<br />
parts e.g. carburettor housing, pump needle jet, needle seat bush, gas piston, pump jet needle and<br />
float needle, as those parts, when worn, would adversely affect fuel consumption, per<strong>for</strong>mance and<br />
slow running adjustment.<br />
11 Replace defective gaskets.<br />
For reassembly, reverse above procedure.


