Spot Vital Signs Service Manual - Frank's Hospital Workshop
Spot Vital Signs Service Manual - Frank's Hospital Workshop
Spot Vital Signs Service Manual - Frank's Hospital Workshop
Create successful ePaper yourself
Turn your PDF publications into a flip-book with our unique Google optimized e-Paper software.
<strong>Service</strong> <strong>Manual</strong> Overview 17<br />
Blood pressure hose and cuff connections<br />
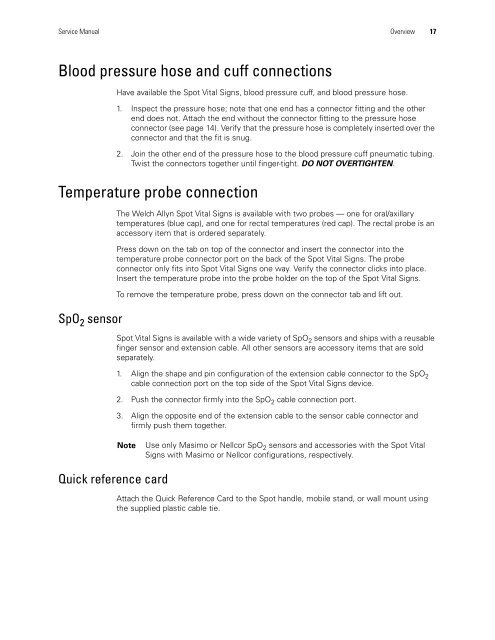
Have available the <strong>Spot</strong> <strong>Vital</strong> <strong>Signs</strong>, blood pressure cuff, and blood pressure hose.<br />
1. Inspect the pressure hose; note that one end has a connector fitting and the other<br />
end does not. Attach the end without the connector fitting to the pressure hose<br />
connector (see page 14). Verify that the pressure hose is completely inserted over the<br />
connector and that the fit is snug.<br />
2. Join the other end of the pressure hose to the blood pressure cuff pneumatic tubing.<br />
Twist the connectors together until finger-tight. DO NOT OVERTIGHTEN.<br />
Temperature probe connection<br />
SpO 2 sensor<br />
Quick reference card<br />
The Welch Allyn <strong>Spot</strong> <strong>Vital</strong> <strong>Signs</strong> is available with two probes — one for oral/axillary<br />
temperatures (blue cap), and one for rectal temperatures (red cap). The rectal probe is an<br />
accessory item that is ordered separately.<br />
Press down on the tab on top of the connector and insert the connector into the<br />
temperature probe connector port on the back of the <strong>Spot</strong> <strong>Vital</strong> <strong>Signs</strong>. The probe<br />
connector only fits into <strong>Spot</strong> <strong>Vital</strong> <strong>Signs</strong> one way. Verify the connector clicks into place.<br />
Insert the temperature probe into the probe holder on the top of the <strong>Spot</strong> <strong>Vital</strong> <strong>Signs</strong>.<br />
To remove the temperature probe, press down on the connector tab and lift out.<br />
<strong>Spot</strong> <strong>Vital</strong> <strong>Signs</strong> is available with a wide variety of SpO 2 sensors and ships with a reusable<br />
finger sensor and extension cable. All other sensors are accessory items that are sold<br />
separately.<br />
1. Align the shape and pin configuration of the extension cable connector to the SpO 2<br />
cable connection port on the top side of the <strong>Spot</strong> <strong>Vital</strong> <strong>Signs</strong> device.<br />
2. Push the connector firmly into the SpO 2 cable connection port.<br />
3. Align the opposite end of the extension cable to the sensor cable connector and<br />
firmly push them together.<br />
Note Use only Masimo or Nellcor SpO 2 sensors and accessories with the <strong>Spot</strong> <strong>Vital</strong><br />
<strong>Signs</strong> with Masimo or Nellcor configurations, respectively.<br />
Attach the Quick Reference Card to the <strong>Spot</strong> handle, mobile stand, or wall mount using<br />
the supplied plastic cable tie.


