Spot Vital Signs Service Manual - Frank's Hospital Workshop
Spot Vital Signs Service Manual - Frank's Hospital Workshop
Spot Vital Signs Service Manual - Frank's Hospital Workshop

You also want an ePaper? Increase the reach of your titles
YUMPU automatically turns print PDFs into web optimized ePapers that Google loves.
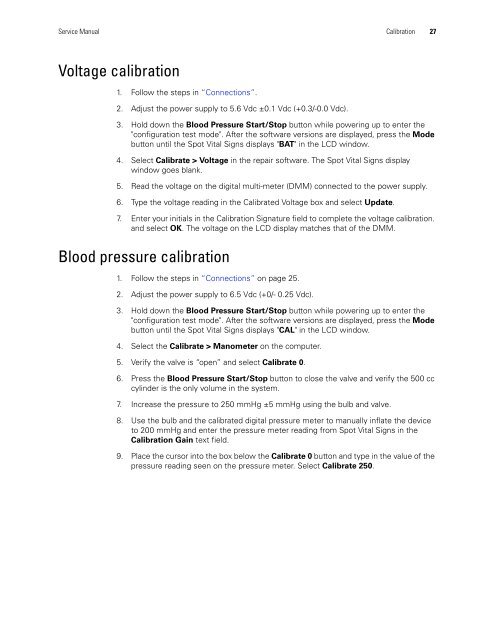
<strong>Service</strong> <strong>Manual</strong> Calibration 27<br />
Voltage calibration<br />
1. Follow the steps in “Connections”.<br />
2. Adjust the power supply to 5.6 Vdc ±0.1 Vdc (+0.3/-0.0 Vdc).<br />
3. Hold down the Blood Pressure Start/Stop button while powering up to enter the<br />
"configuration test mode". After the software versions are displayed, press the Mode<br />
button until the <strong>Spot</strong> <strong>Vital</strong> <strong>Signs</strong> displays "BAT" in the LCD window.<br />
4. Select Calibrate > Voltage in the repair software. The <strong>Spot</strong> <strong>Vital</strong> <strong>Signs</strong> display<br />
window goes blank.<br />
5. Read the voltage on the digital multi-meter (DMM) connected to the power supply.<br />
6. Type the voltage reading in the Calibrated Voltage box and select Update.<br />
7. Enter your initials in the Calibration Signature field to complete the voltage calibration.<br />
and select OK. The voltage on the LCD display matches that of the DMM.<br />
Blood pressure calibration<br />
1. Follow the steps in “Connections” on page 25.<br />
2. Adjust the power supply to 6.5 Vdc (+0/- 0.25 Vdc).<br />
3. Hold down the Blood Pressure Start/Stop button while powering up to enter the<br />
"configuration test mode". After the software versions are displayed, press the Mode<br />
button until the <strong>Spot</strong> <strong>Vital</strong> <strong>Signs</strong> displays "CAL" in the LCD window.<br />
4. Select the Calibrate > Manometer on the computer.<br />
5. Verify the valve is “open” and select Calibrate 0.<br />
6. Press the Blood Pressure Start/Stop button to close the valve and verify the 500 cc<br />
cylinder is the only volume in the system.<br />
7. Increase the pressure to 250 mmHg ±5 mmHg using the bulb and valve.<br />
8. Use the bulb and the calibrated digital pressure meter to manually inflate the device<br />
to 200 mmHg and enter the pressure meter reading from <strong>Spot</strong> <strong>Vital</strong> <strong>Signs</strong> in the<br />
Calibration Gain text field.<br />
9. Place the cursor into the box below the Calibrate 0 button and type in the value of the<br />
pressure reading seen on the pressure meter. Select Calibrate 250.