Spot Vital Signs Service Manual - Frank's Hospital Workshop
Spot Vital Signs Service Manual - Frank's Hospital Workshop
Spot Vital Signs Service Manual - Frank's Hospital Workshop

Create successful ePaper yourself
Turn your PDF publications into a flip-book with our unique Google optimized e-Paper software.
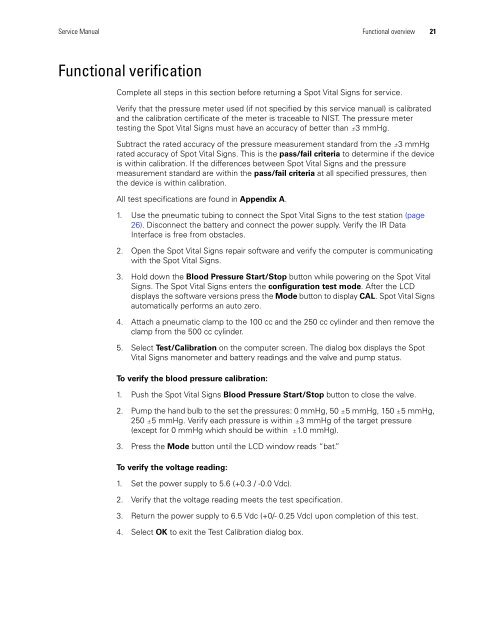
<strong>Service</strong> <strong>Manual</strong> Functional overview 21<br />
Functional verification<br />
Complete all steps in this section before returning a <strong>Spot</strong> <strong>Vital</strong> <strong>Signs</strong> for service.<br />
Verify that the pressure meter used (if not specified by this service manual) is calibrated<br />
and the calibration certificate of the meter is traceable to NIST. The pressure meter<br />
testing the <strong>Spot</strong> <strong>Vital</strong> <strong>Signs</strong> must have an accuracy of better than "3 mmHg.<br />
Subtract the rated accuracy of the pressure measurement standard from the "3 mmHg<br />
rated accuracy of <strong>Spot</strong> <strong>Vital</strong> <strong>Signs</strong>. This is the pass/fail criteria to determine if the device<br />
is within calibration. If the differences between <strong>Spot</strong> <strong>Vital</strong> <strong>Signs</strong> and the pressure<br />
measurement standard are within the pass/fail criteria at all specified pressures, then<br />
the device is within calibration.<br />
All test specifications are found in Appendix A.<br />
1. Use the pneumatic tubing to connect the <strong>Spot</strong> <strong>Vital</strong> <strong>Signs</strong> to the test station (page<br />
26). Disconnect the battery and connect the power supply. Verify the IR Data<br />
Interface is free from obstacles.<br />
2. Open the <strong>Spot</strong> <strong>Vital</strong> <strong>Signs</strong> repair software and verify the computer is communicating<br />
with the <strong>Spot</strong> <strong>Vital</strong> <strong>Signs</strong>.<br />
3. Hold down the Blood Pressure Start/Stop button while powering on the <strong>Spot</strong> <strong>Vital</strong><br />
<strong>Signs</strong>. The <strong>Spot</strong> <strong>Vital</strong> <strong>Signs</strong> enters the configuration test mode. After the LCD<br />
displays the software versions press the Mode button to display CAL. <strong>Spot</strong> <strong>Vital</strong> <strong>Signs</strong><br />
automatically performs an auto zero.<br />
4. Attach a pneumatic clamp to the 100 cc and the 250 cc cylinder and then remove the<br />
clamp from the 500 cc cylinder.<br />
5. Select Test/Calibration on the computer screen. The dialog box displays the <strong>Spot</strong><br />
<strong>Vital</strong> <strong>Signs</strong> manometer and battery readings and the valve and pump status.<br />
To verify the blood pressure calibration:<br />
1. Push the <strong>Spot</strong> <strong>Vital</strong> <strong>Signs</strong> Blood Pressure Start/Stop button to close the valve.<br />
2. Pump the hand bulb to the set the pressures: 0 mmHg, 50 "5 mmHg, 150 "5 mmHg,<br />
250 "5 mmHg. Verify each pressure is within "3 mmHg of the target pressure<br />
(except for 0 mmHg which should be within "1.0 mmHg).<br />
3. Press the Mode button until the LCD window reads “bat.”<br />
To verify the voltage reading:<br />
1. Set the power supply to 5.6 (+0.3 / -0.0 Vdc).<br />
2. Verify that the voltage reading meets the test specification.<br />
3. Return the power supply to 6.5 Vdc (+0/- 0.25 Vdc) upon completion of this test.<br />
4. Select OK to exit the Test Calibration dialog box.