SG9 Web Client - Galaxy Control Systems
SG9 Web Client - Galaxy Control Systems
SG9 Web Client - Galaxy Control Systems

You also want an ePaper? Increase the reach of your titles
YUMPU automatically turns print PDFs into web optimized ePapers that Google loves.
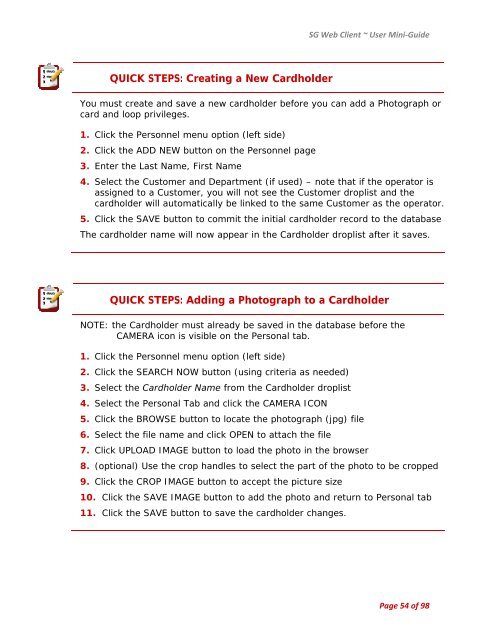
QUICK STEPS: Creating a New Cardholder<br />
SG <strong>Web</strong> <strong>Client</strong> ~ User Mini‐Guide<br />
You must create and save a new cardholder before you can add a Photograph or<br />
card and loop privileges.<br />
1. Click the Personnel menu option (left side)<br />
2. Click the ADD NEW button on the Personnel page<br />
3. Enter the Last Name, First Name<br />
4. Select the Customer and Department (if used) – note that if the operator is<br />
assigned to a Customer, you will not see the Customer droplist and the<br />
cardholder will automatically be linked to the same Customer as the operator.<br />
5. Click the SAVE button to commit the initial cardholder record to the database<br />
The cardholder name will now appear in the Cardholder droplist after it saves.<br />
QUICK STEPS: Adding a Photograph to a Cardholder<br />
NOTE: the Cardholder must already be saved in the database before the<br />
CAMERA icon is visible on the Personal tab.<br />
1. Click the Personnel menu option (left side)<br />
2. Click the SEARCH NOW button (using criteria as needed)<br />
3. Select the Cardholder Name from the Cardholder droplist<br />
4. Select the Personal Tab and click the CAMERA ICON<br />
5. Click the BROWSE button to locate the photograph (jpg) file<br />
6. Select the file name and click OPEN to attach the file<br />
7. Click UPLOAD IMAGE button to load the photo in the browser<br />
8. (optional) Use the crop handles to select the part of the photo to be cropped<br />
9. Click the CROP IMAGE button to accept the picture size<br />
10. Click the SAVE IMAGE button to add the photo and return to Personal tab<br />
11. Click the SAVE button to save the cardholder changes.<br />
Page 54 of 98