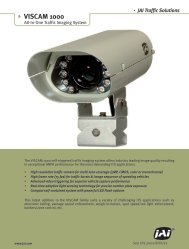
TS-9720EN Series Progressive Scan Shutter Cameras - JAI Pulnix
TS-9720EN Series Progressive Scan Shutter Cameras - JAI Pulnix
TS-9720EN Series Progressive Scan Shutter Cameras - JAI Pulnix

Create successful ePaper yourself
Turn your PDF publications into a flip-book with our unique Google optimized e-Paper software.
Page 20<br />
Tutorial<br />
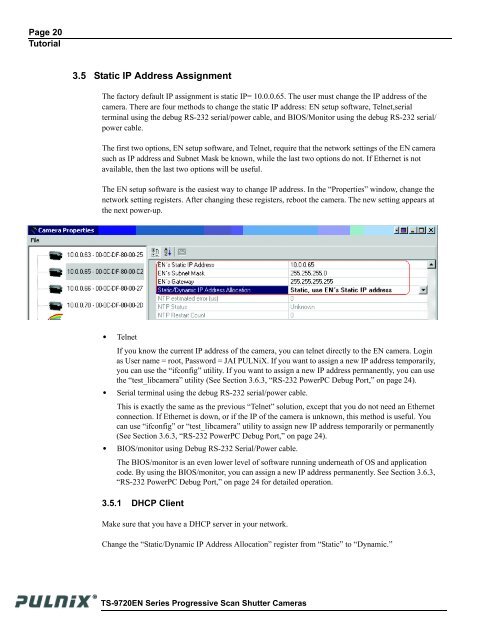
3.5 Static IP Address Assignment<br />
The factory default IP assignment is static IP= 10.0.0.65. The user must change the IP address of the<br />
camera. There are four methods to change the static IP address: EN setup software, Telnet,serial<br />
terminal using the debug RS-232 serial/power cable, and BIOS/Monitor using the debug RS-232 serial/<br />
power cable.<br />
The first two options, EN setup software, and Telnet, require that the network settings of the EN camera<br />
such as IP address and Subnet Mask be known, while the last two options do not. If Ethernet is not<br />
available, then the last two options will be useful.<br />
The EN setup software is the easiest way to change IP address. In the “Properties” window, change the<br />
network setting registers. After changing these registers, reboot the camera. The new setting appears at<br />
the next power-up.<br />
• Telnet<br />
If you know the current IP address of the camera, you can telnet directly to the EN camera. Login<br />
as User name = root, Password = <strong>JAI</strong> PULNiX. If you want to assign a new IP address temporarily,<br />
you can use the “ifconfig” utility. If you want to assign a new IP address permanently, you can use<br />
the “test_libcamera” utility (See Section 3.6.3, “RS-232 PowerPC Debug Port,” on page 24).<br />
• Serial terminal using the debug RS-232 serial/power cable.<br />
This is exactly the same as the previous “Telnet” solution, except that you do not need an Ethernet<br />
connection. If Ethernet is down, or if the IP of the camera is unknown, this method is useful. You<br />
can use “ifconfig” or “test_libcamera” utility to assign new IP address temporarily or permanently<br />
(See Section 3.6.3, “RS-232 PowerPC Debug Port,” on page 24).<br />
• BIOS/monitor using Debug RS-232 Serial/Power cable.<br />
The BIOS/monitor is an even lower level of software running underneath of OS and application<br />
code. By using the BIOS/monitor, you can assign a new IP address permanently. See Section 3.6.3,<br />
“RS-232 PowerPC Debug Port,” on page 24 for detailed operation.<br />
3.5.1 DHCP Client<br />
Make sure that you have a DHCP server in your network.<br />
Change the “Static/Dynamic IP Address Allocation” register from “Static” to “Dynamic.”<br />
<strong>TS</strong>-<strong>9720EN</strong> <strong>Series</strong> <strong>Progressive</strong> <strong>Scan</strong> <strong>Shutter</strong> <strong>Cameras</strong>