User Guide - Virgin Media
User Guide - Virgin Media
User Guide - Virgin Media
You also want an ePaper? Increase the reach of your titles
YUMPU automatically turns print PDFs into web optimized ePapers that Google loves.
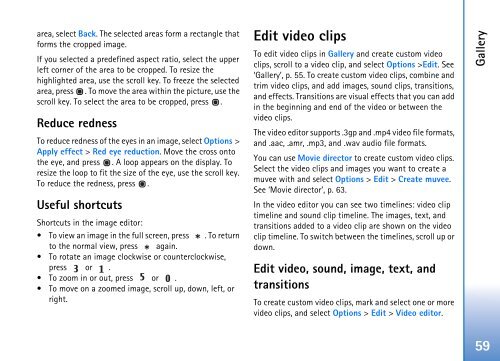
area, select Back. The selected areas form a rectangle that<br />
forms the cropped image.<br />
If you selected a predefined aspect ratio, select the upper<br />
left corner of the area to be cropped. To resize the<br />
highlighted area, use the scroll key. To freeze the selected<br />
area, press . To move the area within the picture, use the<br />
scroll key. To select the area to be cropped, press .<br />
Reduce redness<br />
To reduce redness of the eyes in an image, select Options ><br />
Apply effect > Red eye reduction. Move the cross onto<br />
the eye, and press . A loop appears on the display. To<br />
resize the loop to fit the size of the eye, use the scroll key.<br />
To reduce the redness, press .<br />
Useful shortcuts<br />
Shortcuts in the image editor:<br />
• To view an image in the full screen, press . To return<br />
to the normal view, press again.<br />
• To rotate an image clockwise or counterclockwise,<br />
press or .<br />
• To zoom in or out, press or .<br />
• To move on a zoomed image, scroll up, down, left, or<br />
right.<br />
Edit video clips<br />
To edit video clips in Gallery and create custom video<br />
clips, scroll to a video clip, and select Options >Edit. See<br />
‘Gallery’, p. 55. To create custom video clips, combine and<br />
trim video clips, and add images, sound clips, transitions,<br />
and effects. Transitions are visual effects that you can add<br />
in the beginning and end of the video or between the<br />
video clips.<br />
The video editor supports .3gp and .mp4 video file formats,<br />
and .aac, .amr, .mp3, and .wav audio file formats.<br />
You can use Movie director to create custom video clips.<br />
Select the video clips and images you want to create a<br />
muvee with and select Options > Edit > Create muvee.<br />
See ‘Movie director’, p. 63.<br />
In the video editor you can see two timelines: video clip<br />
timeline and sound clip timeline. The images, text, and<br />
transitions added to a video clip are shown on the video<br />
clip timeline. To switch between the timelines, scroll up or<br />
down.<br />
Edit video, sound, image, text, and<br />
transitions<br />
To create custom video clips, mark and select one or more<br />
video clips, and select Options > Edit > Video editor.<br />
Gallery<br />
59


