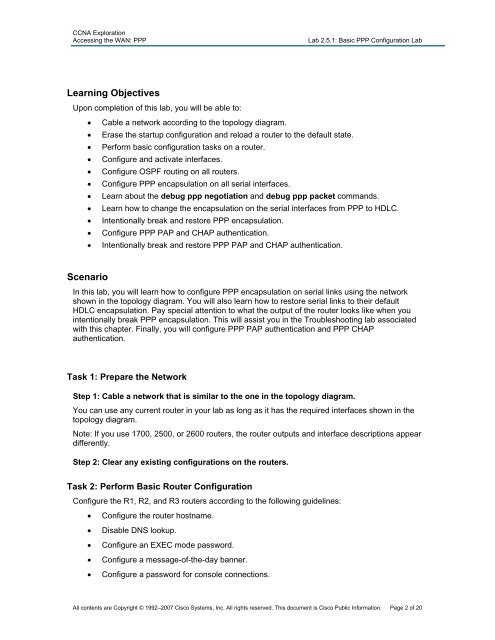
Lab 2.5.1: Basic PPP Configuration Lab
Lab 2.5.1: Basic PPP Configuration Lab
Lab 2.5.1: Basic PPP Configuration Lab
Create successful ePaper yourself
Turn your PDF publications into a flip-book with our unique Google optimized e-Paper software.
CCNA Exploration<br />
Accessing the WAN: <strong>PPP</strong><br />
<strong>Lab</strong> <strong>2.5.1</strong>: <strong>Basic</strong> <strong>PPP</strong> <strong>Configuration</strong> <strong>Lab</strong><br />
Learning Objectives<br />
Upon completion of this lab, you will be able to:<br />
• Cable a network according to the topology diagram.<br />
• Erase the startup configuration and reload a router to the default state.<br />
• Perform basic configuration tasks on a router.<br />
• Configure and activate interfaces.<br />
• Configure OSPF routing on all routers.<br />
• Configure <strong>PPP</strong> encapsulation on all serial interfaces.<br />
• Learn about the debug ppp negotiation and debug ppp packet commands.<br />
• Learn how to change the encapsulation on the serial interfaces from <strong>PPP</strong> to HDLC.<br />
• Intentionally break and restore <strong>PPP</strong> encapsulation.<br />
• Configure <strong>PPP</strong> PAP and CHAP authentication.<br />
• Intentionally break and restore <strong>PPP</strong> PAP and CHAP authentication.<br />
Scenario<br />
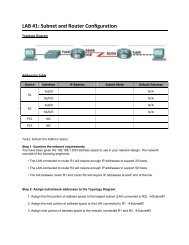
In this lab, you will learn how to configure <strong>PPP</strong> encapsulation on serial links using the network<br />
shown in the topology diagram. You will also learn how to restore serial links to their default<br />
HDLC encapsulation. Pay special attention to what the output of the router looks like when you<br />
intentionally break <strong>PPP</strong> encapsulation. This will assist you in the Troubleshooting lab associated<br />
with this chapter. Finally, you will configure <strong>PPP</strong> PAP authentication and <strong>PPP</strong> CHAP<br />
authentication.<br />
Task 1: Prepare the Network<br />
Step 1: Cable a network that is similar to the one in the topology diagram.<br />
You can use any current router in your lab as long as it has the required interfaces shown in the<br />
topology diagram.<br />
Note: If you use 1700, 2500, or 2600 routers, the router outputs and interface descriptions appear<br />
differently.<br />
Step 2: Clear any existing configurations on the routers.<br />
Task 2: Perform <strong>Basic</strong> Router <strong>Configuration</strong><br />
Configure the R1, R2, and R3 routers according to the following guidelines:<br />
• Configure the router hostname.<br />
• Disable DNS lookup.<br />
• Configure an EXEC mode password.<br />
• Configure a message-of-the-day banner.<br />
• Configure a password for console connections.<br />
All contents are Copyright © 1992–2007 Cisco Systems, Inc. All rights reserved. This document is Cisco Public Information. Page 2 of 20


