
You also want an ePaper? Increase the reach of your titles
YUMPU automatically turns print PDFs into web optimized ePapers that Google loves.
4. EDGE ERASE COPYING<br />
1<br />
2<br />
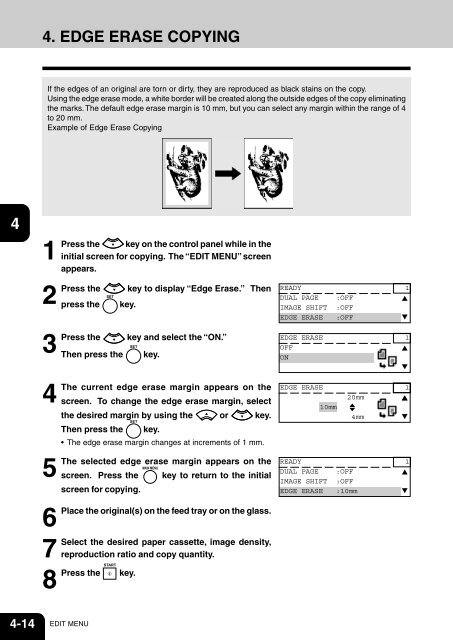
If the edges of an original are torn or dirty, they are reproduced as black stains on the copy.<br />
Using the edge erase mode, a white border will be created along the outside edges of the copy eliminating<br />
the marks. The default edge erase margin is 10 mm, but you can select any margin within the range of 4<br />
to 20 mm.<br />
Example of Edge Erase Copying<br />
3<br />
4<br />
5<br />
6<br />
7<br />
8<br />
9<br />
10<br />
11<br />
12<br />
1<br />
Press the key on the control panel while in the<br />
initial screen for copying. The “EDIT MENU” screen<br />
appears.<br />
2<br />
Press the key to display “Edge Erase.” Then READY 1<br />
DUAL PAGE :OFF<br />
press the key.<br />
IMAGE SHIFT :OFF<br />
EDGE ERASE :OFF<br />
3<br />
Press the key and select the “ON.”<br />
EDGE ERASE 1<br />
OFF<br />
Then press the key.<br />
ON<br />
4<br />
The current edge erase margin appears on the EDGE ERASE 1<br />
20mm<br />
screen. To change the edge erase margin, select<br />
10mm<br />
the desired margin by using the or key.<br />
4mm<br />
Then press the key.<br />
• The edge erase margin changes at increments of 1 mm.<br />
5<br />
The selected edge erase margin appears on the READY 1<br />
DUAL PAGE :OFF<br />
screen. Press the key to return to the initial<br />
IMAGE SHIFT :OFF<br />
screen for copying.<br />
EDGE ERASE :10mm<br />
6<br />
Place the original(s) on the feed tray or on the glass.<br />
7<br />
Select the desired paper cassette, image density,<br />
reproduction ratio and copy quantity.<br />
8<br />
Press the key.<br />
4-14 EDIT MENU