
You also want an ePaper? Increase the reach of your titles
YUMPU automatically turns print PDFs into web optimized ePapers that Google loves.
Creating a Production Drawing<br />
Inserting Centerlines Automatically<br />
Creating centerlines on your drawing views is simple with <strong>Autodesk</strong><br />
Inventor. To generate centerlines automatically for the front view:<br />
1. Move your cursor into the front view (lower-left view on your sheet),<br />
right-click, and then select Automated Centerlines.<br />
The Centerline Settings dialog box appears, allowing you to define<br />
situations where centerlines should automatically be generated.<br />
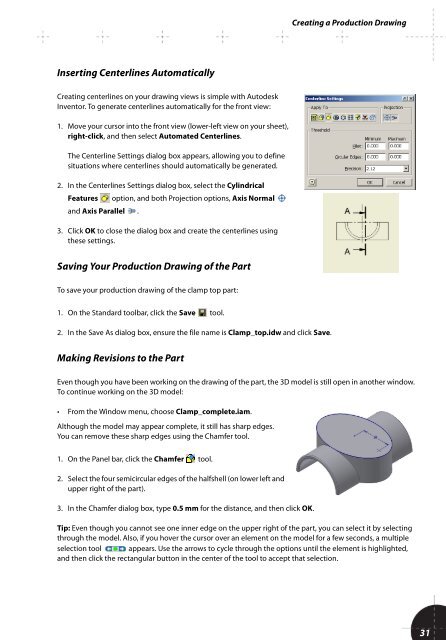
2. In the Centerlines Settings dialog box, select the Cylindrical<br />
Features option, and both Projection options, Axis Normal<br />
and Axis Parallel .<br />
3. Click OK to close the dialog box and create the centerlines using<br />
these settings.<br />
Saving Your Production Drawing of the Part<br />
To save your production drawing of the clamp top part:<br />
1. On the Standard toolbar, click the Save tool.<br />
2. In the Save As dialog box, ensure the file name is Clamp_top.idw and click Save.<br />
Making Revisions to the Part<br />
Even though you have been working on the drawing of the part, the 3D model is still open in another window.<br />
To continue working on the 3D model:<br />
• From the Window menu, choose Clamp_complete.iam.<br />
Although the model may appear complete, it still has sharp edges.<br />
You can remove these sharp edges using the Chamfer tool.<br />
1. On the Panel bar, click the Chamfer tool.<br />
2. Select the four semicircular edges of the halfshell (on lower left and<br />
upper right of the part).<br />
3. In the Chamfer dialog box, type 0.5 mm for the distance, and then click OK.<br />
Tip: Even though you cannot see one inner edge on the upper right of the part, you can select it by selecting<br />
through the model. Also, if you hover the cursor over an element on the model for a few seconds, a multiple<br />
selection tool appears. Use the arrows to cycle through the options until the element is highlighted,<br />
and then click the rectangular button in the center of the tool to accept that selection.<br />
31