QCapture PRO 7 User Manual - QImaging
QCapture PRO 7 User Manual - QImaging
QCapture PRO 7 User Manual - QImaging

You also want an ePaper? Increase the reach of your titles
YUMPU automatically turns print PDFs into web optimized ePapers that Google loves.
The Q-Capture Pro 7 Application Window<br />
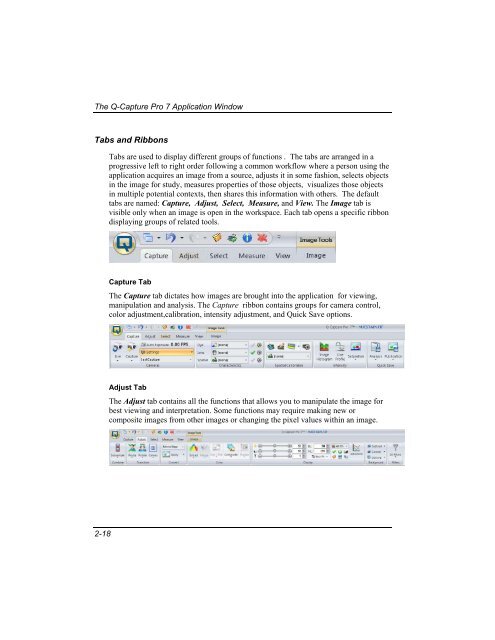
Tabs and Ribbons<br />
Tabs are used to display different groups of functions . The tabs are arranged in a<br />
progressive left to right order following a common workflow where a person using the<br />
application acquires an image from a source, adjusts it in some fashion, selects objects<br />
in the image for study, measures properties of those objects, visualizes those objects<br />
in multiple potential contexts, then shares this information with others. The default<br />
tabs are named: Capture, Adjust, Select, Measure, and View. The Image tab is<br />
visible only when an image is open in the workspace. Each tab opens a specific ribbon<br />
displaying groups of related tools.<br />
Capture Tab<br />
The Capture tab dictates how images are brought into the application for viewing,<br />
manipulation and analysis. The Capture ribbon contains groups for camera control,<br />
color adjustment,calibration, intensity adjustment, and Quick Save options.<br />
Adjust Tab<br />
The Adjust tab contains all the functions that allows you to manipulate the image for<br />
best viewing and interpretation. Some functions may require making new or<br />
composite images from other images or changing the pixel values within an image.<br />
2-18