8 Troubleshooting the Cisco IP Phone
8 Troubleshooting the Cisco IP Phone
8 Troubleshooting the Cisco IP Phone

You also want an ePaper? Increase the reach of your titles
YUMPU automatically turns print PDFs into web optimized ePapers that Google loves.
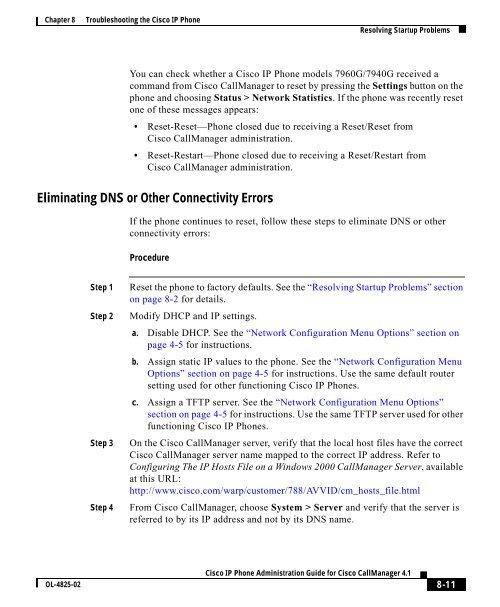
Chapter 8 <strong>Troubleshooting</strong> <strong>the</strong> <strong>Cisco</strong> <strong>IP</strong> <strong>Phone</strong>Resolving Startup ProblemsYou can check whe<strong>the</strong>r a <strong>Cisco</strong> <strong>IP</strong> <strong>Phone</strong> models 7960G/7940G received acommand from <strong>Cisco</strong> CallManager to reset by pressing <strong>the</strong> Settings button on <strong>the</strong>phone and choosing Status > Network Statistics. If <strong>the</strong> phone was recently resetone of <strong>the</strong>se messages appears:• Reset-Reset—<strong>Phone</strong> closed due to receiving a Reset/Reset from<strong>Cisco</strong> CallManager administration.• Reset-Restart—<strong>Phone</strong> closed due to receiving a Reset/Restart from<strong>Cisco</strong> CallManager administration.Eliminating DNS or O<strong>the</strong>r Connectivity ErrorsIf <strong>the</strong> phone continues to reset, follow <strong>the</strong>se steps to eliminate DNS or o<strong>the</strong>rconnectivity errors:ProcedureStep 1Step 2Step 3Step 4Reset <strong>the</strong> phone to factory defaults. See <strong>the</strong> “Resolving Startup Problems” sectionon page 8-2 for details.Modify DHCP and <strong>IP</strong> settings.a. Disable DHCP. See <strong>the</strong> “Network Configuration Menu Options” section onpage 4-5 for instructions.b. Assign static <strong>IP</strong> values to <strong>the</strong> phone. See <strong>the</strong> “Network Configuration MenuOptions” section on page 4-5 for instructions. Use <strong>the</strong> same default routersetting used for o<strong>the</strong>r functioning <strong>Cisco</strong> <strong>IP</strong> <strong>Phone</strong>s.c. Assign a TFTP server. See <strong>the</strong> “Network Configuration Menu Options”section on page 4-5 for instructions. Use <strong>the</strong> same TFTP server used for o<strong>the</strong>rfunctioning <strong>Cisco</strong> <strong>IP</strong> <strong>Phone</strong>s.On <strong>the</strong> <strong>Cisco</strong> CallManager server, verify that <strong>the</strong> local host files have <strong>the</strong> correct<strong>Cisco</strong> CallManager server name mapped to <strong>the</strong> correct <strong>IP</strong> address. Refer toConfiguring The <strong>IP</strong> Hosts File on a Windows 2000 CallManager Server, availableat this URL:http://www.cisco.com/warp/customer/788/AVVID/cm_hosts_file.htmlFrom <strong>Cisco</strong> CallManager, choose System > Server and verify that <strong>the</strong> server isreferred to by its <strong>IP</strong> address and not by its DNS name.OL-4825-02<strong>Cisco</strong> <strong>IP</strong> <strong>Phone</strong> Administration Guide for <strong>Cisco</strong> CallManager 4.18-11