150/250 Wheel Balancer - aesco
150/250 Wheel Balancer - aesco
150/250 Wheel Balancer - aesco

You also want an ePaper? Increase the reach of your titles
YUMPU automatically turns print PDFs into web optimized ePapers that Google loves.
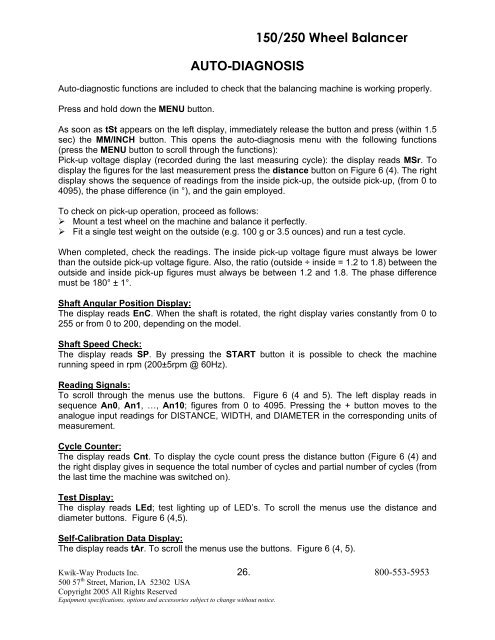
AUTO-DIAGNOSIS<strong>150</strong>/<strong>250</strong> <strong>Wheel</strong> <strong>Balancer</strong>Auto-diagnostic functions are included to check that the balancing machine is working properly.Press and hold down the MENU button.As soon as tSt appears on the left display, immediately release the button and press (within 1.5sec) the MM/INCH button. This opens the auto-diagnosis menu with the following functions(press the MENU button to scroll through the functions):Pick-up voltage display (recorded during the last measuring cycle): the display reads MSr. Todisplay the figures for the last measurement press the distance button on Figure 6 (4). The rightdisplay shows the sequence of readings from the inside pick-up, the outside pick-up, (from 0 to4095), the phase difference (in °), and the gain employed.To check on pick-up operation, proceed as follows:‣ Mount a test wheel on the machine and balance it perfectly.‣ Fit a single test weight on the outside (e.g. 100 g or 3.5 ounces) and run a test cycle.When completed, check the readings. The inside pick-up voltage figure must always be lowerthan the outside pick-up voltage figure. Also, the ratio (outside ÷ inside = 1.2 to 1.8) between theoutside and inside pick-up figures must always be between 1.2 and 1.8. The phase differencemust be 180° ± 1°.Shaft Angular Position Display:The display reads EnC. When the shaft is rotated, the right display varies constantly from 0 to255 or from 0 to 200, depending on the model.Shaft Speed Check:The display reads SP. By pressing the START button it is possible to check the machinerunning speed in rpm (200±5rpm @ 60Hz).Reading Signals:To scroll through the menus use the buttons. Figure 6 (4 and 5). The left display reads insequence An0, An1, …, An10; figures from 0 to 4095. Pressing the + button moves to theanalogue input readings for DISTANCE, WIDTH, and DIAMETER in the corresponding units ofmeasurement.Cycle Counter:The display reads Cnt. To display the cycle count press the distance button (Figure 6 (4) andthe right display gives in sequence the total number of cycles and partial number of cycles (fromthe last time the machine was switched on).Test Display:The display reads LEd; test lighting up of LED’s. To scroll the menus use the distance anddiameter buttons. Figure 6 (4,5).Self-Calibration Data Display:The display reads tAr. To scroll the menus use the buttons. Figure 6 (4, 5).Kwik-Way Products Inc. 26. 800-553-5953500 57 th Street, Marion, IA 52302 USACopyright 2005 All Rights ReservedEquipment specifications, options and accessories subject to change without notice.