Operating instructions - TRW Automotive Aftermarket
Operating instructions - TRW Automotive Aftermarket
Operating instructions - TRW Automotive Aftermarket
You also want an ePaper? Increase the reach of your titles
YUMPU automatically turns print PDFs into web optimized ePapers that Google loves.
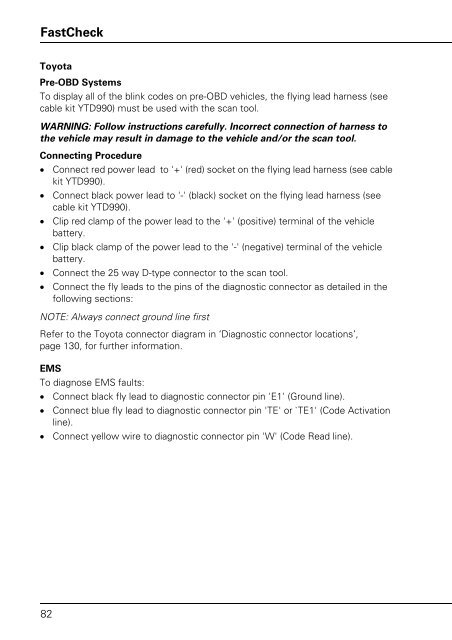
FastCheck<br />
Toyota<br />
Pre-OBD Systems<br />
To display all of the blink codes on pre-OBD vehicles, the flying lead harness (see<br />
cable kit YTD990) must be used with the scan tool.<br />
WARNING: Follow <strong>instructions</strong> carefully. Incorrect connection of harness to<br />
the vehicle may result in damage to the vehicle and/or the scan tool.<br />
Connecting Procedure<br />
• Connect red power lead to '+' (red) socket on the flying lead harness (see cable<br />
kit YTD990).<br />
• Connect black power lead to '-' (black) socket on the flying lead harness (see<br />
cable kit YTD990).<br />
• Clip red clamp of the power lead to the '+' (positive) terminal of the vehicle<br />
battery.<br />
• Clip black clamp of the power lead to the '-' (negative) terminal of the vehicle<br />
battery.<br />
• Connect the 25 way D-type connector to the scan tool.<br />
• Connect the fly leads to the pins of the diagnostic connector as detailed in the<br />
following sections:<br />
NOTE: Always connect ground line first<br />
Refer to the Toyota connector diagram in ‘Diagnostic connector locations’,<br />
page 130, for further information.<br />
EMS<br />
To diagnose EMS faults:<br />
• Connect black fly lead to diagnostic connector pin 'E1' (Ground line).<br />
• Connect blue fly lead to diagnostic connector pin 'TE' or `TE1' (Code Activation<br />
line).<br />
• Connect yellow wire to diagnostic connector pin 'W' (Code Read line).<br />
82


