User manual 09/2009 - Schneider Electric
User manual 09/2009 - Schneider Electric
User manual 09/2009 - Schneider Electric
Create successful ePaper yourself
Turn your PDF publications into a flip-book with our unique Google optimized e-Paper software.
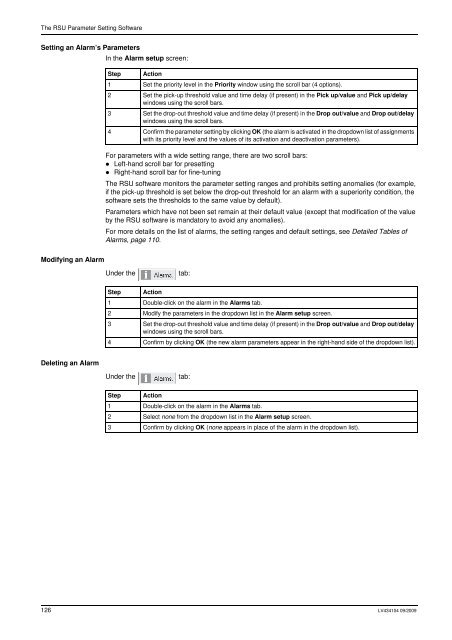
The RSU Parameter Setting SoftwareSetting an Alarm’s ParametersIn the Alarm setup screen:Step Action1 Set the priority level in the Priority window using the scroll bar (4 options).2 Set the pick-up threshold value and time delay (if present) in the Pick up/value and Pick up/delaywindows using the scroll bars.3 Set the drop-out threshold value and time delay (if present) in the Drop out/value and Drop out/delaywindows using the scroll bars.4 Confirm the parameter setting by clicking OK (the alarm is activated in the dropdown list of assignmentswith its priority level and the values of its activation and deactivation parameters).For parameters with a wide setting range, there are two scroll bars:• Left-hand scroll bar for presetting• Right-hand scroll bar for fine-tuningThe RSU software monitors the parameter setting ranges and prohibits setting anomalies (for example,if the pick-up threshold is set below the drop-out threshold for an alarm with a superiority condition, thesoftware sets the thresholds to the same value by default).Parameters which have not been set remain at their default value (except that modification of the valueby the RSU software is mandatory to avoid any anomalies).For more details on the list of alarms, the setting ranges and default settings, see Detailed Tables ofAlarms, page 110.Modifying an AlarmUnder thetab:Step Action1 Double-click on the alarm in the Alarms tab.2 Modify the parameters in the dropdown list in the Alarm setup screen.3 Set the drop-out threshold value and time delay (if present) in the Drop out/value and Drop out/delaywindows using the scroll bars.4 Confirm by clicking OK (the new alarm parameters appear in the right-hand side of the dropdown list).Deleting an AlarmUnder thetab:Step Action1 Double-click on the alarm in the Alarms tab.2 Select none from the dropdown list in the Alarm setup screen.3 Confirm by clicking OK (none appears in place of the alarm in the dropdown list).126 LV434104 <strong>09</strong>/20<strong>09</strong>


