TTS Golf RoToR oWNERS MANUAl - Hunter Industries
TTS Golf RoToR oWNERS MANUAl - Hunter Industries
TTS Golf RoToR oWNERS MANUAl - Hunter Industries

You also want an ePaper? Increase the reach of your titles
YUMPU automatically turns print PDFs into web optimized ePapers that Google loves.
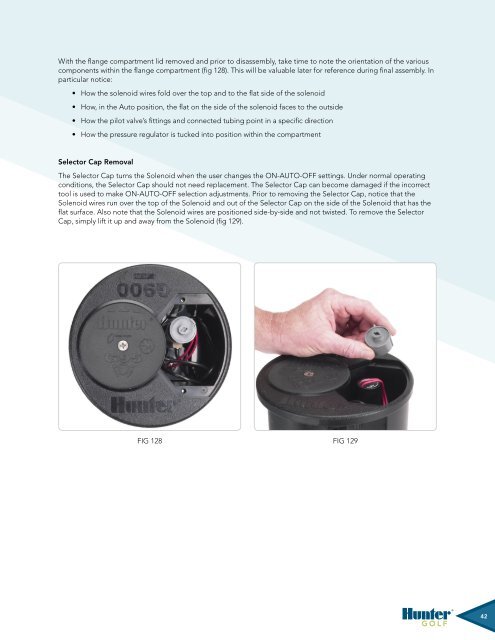
With the flange compartment lid removed and prior to disassembly, take time to note the orientation of the variouscomponents within the flange compartment (fig 128). This will be valuable later for reference during final assembly. Inparticular notice:• How the solenoid wires fold over the top and to the flat side of the solenoid• How, in the Auto position, the flat on the side of the solenoid faces to the outside• How the pilot valve’s fittings and connected tubing point in a specific direction• How the pressure regulator is tucked into position within the compartmentSelector Cap RemovalThe Selector Cap turns the Solenoid when the user changes the ON-AUTO-OFF settings. Under normal operatingconditions, the Selector Cap should not need replacement. The Selector Cap can become damaged if the incorrecttool is used to make ON-AUTO-OFF selection adjustments. Prior to removing the Selector Cap, notice that theSolenoid wires run over the top of the Solenoid and out of the Selector Cap on the side of the Solenoid that has theflat surface. Also note that the Solenoid wires are positioned side-by-side and not twisted. To remove the SelectorCap, simply lift it up and away from the Solenoid (fig 129).Fig 128 Fig 129Fig 127 Fig 12842