SERVICE MANUAL SERIES 360 EP SERIES 360 ES - Precisa
SERVICE MANUAL SERIES 360 EP SERIES 360 ES - Precisa
SERVICE MANUAL SERIES 360 EP SERIES 360 ES - Precisa

Create successful ePaper yourself
Turn your PDF publications into a flip-book with our unique Google optimized e-Paper software.
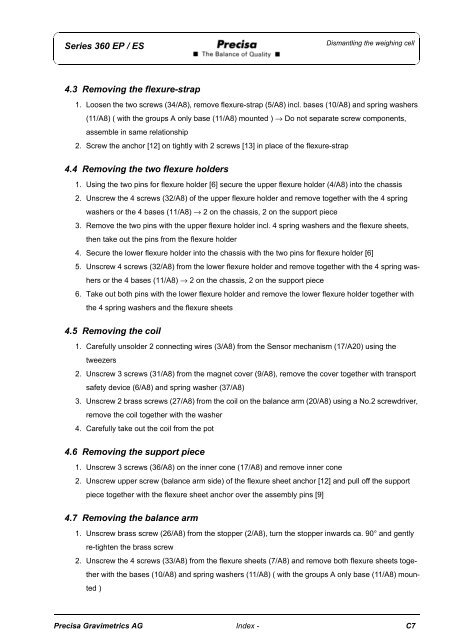
Series <strong>360</strong> <strong>EP</strong> / <strong>ES</strong>Dismantling the weighing cell4.3 Removing the flexure-strap1. Loosen the two screws (34/A8), remove flexure-strap (5/A8) incl. bases (10/A8) and spring washers(11/A8) ( with the groups A only base (11/A8) mounted ) → Do not separate screw components,assemble in same relationship2. Screw the anchor [12] on tightly with 2 screws [13] in place of the flexure-strap4.4 Removing the two flexure holders1. Using the two pins for flexure holder [6] secure the upper flexure holder (4/A8) into the chassis2. Unscrew the 4 screws (32/A8) of the upper flexure holder and remove together with the 4 springwashers or the 4 bases (11/A8) → 2 on the chassis, 2 on the support piece3. Remove the two pins with the upper flexure holder incl. 4 spring washers and the flexure sheets,then take out the pins from the flexure holder4. Secure the lower flexure holder into the chassis with the two pins for flexure holder [6]5. Unscrew 4 screws (32/A8) from the lower flexure holder and remove together with the 4 spring washersor the 4 bases (11/A8) → 2 on the chassis, 2 on the support piece6. Take out both pins with the lower flexure holder and remove the lower flexure holder together withthe 4 spring washers and the flexure sheets4.5 Removing the coil1. Carefully unsolder 2 connecting wires (3/A8) from the Sensor mechanism (17/A20) using thetweezers2. Unscrew 3 screws (31/A8) from the magnet cover (9/A8), remove the cover together with transportsafety device (6/A8) and spring washer (37/A8)3. Unscrew 2 brass screws (27/A8) from the coil on the balance arm (20/A8) using a No.2 screwdriver,remove the coil together with the washer4. Carefully take out the coil from the pot4.6 Removing the support piece1. Unscrew 3 screws (36/A8) on the inner cone (17/A8) and remove inner cone2. Unscrew upper screw (balance arm side) of the flexure sheet anchor [12] and pull off the supportpiece together with the flexure sheet anchor over the assembly pins [9]4.7 Removing the balance arm1. Unscrew brass screw (26/A8) from the stopper (2/A8), turn the stopper inwards ca. 90° and gentlyre-tighten the brass screw2. Unscrew the 4 screws (33/A8) from the flexure sheets (7/A8) and remove both flexure sheets togetherwith the bases (10/A8) and spring washers (11/A8) ( with the groups A only base (11/A8) mounted)<strong>Precisa</strong> Gravimetrics AG Index - C7