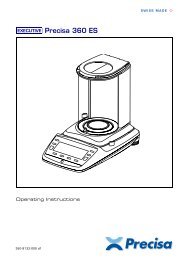
SERVICE MANUAL SERIES 360 EP SERIES 360 ES - Precisa
SERVICE MANUAL SERIES 360 EP SERIES 360 ES - Precisa
SERVICE MANUAL SERIES 360 EP SERIES 360 ES - Precisa

You also want an ePaper? Increase the reach of your titles
YUMPU automatically turns print PDFs into web optimized ePapers that Google loves.
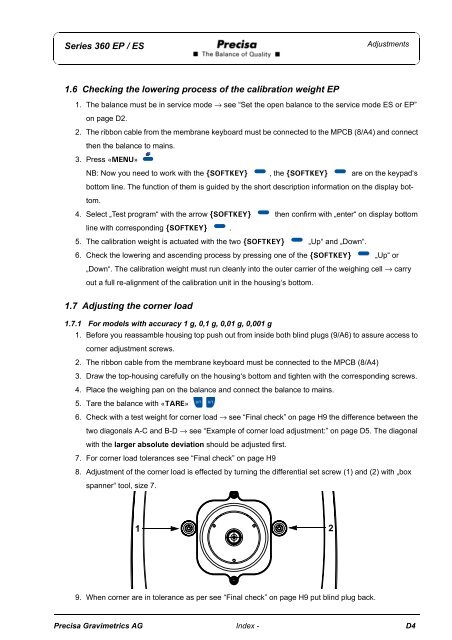
Series <strong>360</strong> <strong>EP</strong> / <strong>ES</strong>Adjustments1.6 Checking the lowering process of the calibration weight <strong>EP</strong>1. The balance must be in service mode → see “Set the open balance to the service mode <strong>ES</strong> or <strong>EP</strong>”on page D2.2. The ribbon cable from the membrane keyboard must be connected to the MPCB (8/A4) and connectthen the balance to mains.3. Press «MENU»NB: Now you need to work with the {SOFTKEY} , the {SOFTKEY} are on the keypad‘sbottom line. The function of them is guided by the short description information on the display bottom.4. Select „Test program“ with the arrow {SOFTKEY} then confirm with „enter“ on display bottomline with corresponding {SOFTKEY} ..5. The calibration weight is actuated with the two {SOFTKEY} „Up“ and „Down“.6. Check the lowering and ascending process by pressing one of the {SOFTKEY} „Up“ or„Down“. The calibration weight must run cleanly into the outer carrier of the weighing cell → carryout a full re-alignment of the calibration unit in the housing‘s bottom.1.7 Adjusting the corner load1.7.1 For models with accuracy 1 g, 0,1 g, 0,01 g, 0,001 g1. Before you reassamble housing top push out from inside both blind plugs (9/A6) to assure access tocorner adjustment screws.2. The ribbon cable from the membrane keyboard must be connected to the MPCB (8/A4)3. Draw the top-housing carefully on the housing‘s bottom and tighten with the corresponding screws.4. Place the weighing pan on the balance and connect the balance to mains.5. Tare the balance with «TARE»6. Check with a test weight for corner load → see “Final check” on page H9 the difference between thetwo diagonals A-C and B-D → see “Example of corner load adjustment:” on page D5. The diagonalwith the larger absolute deviation should be adjusted first.7. For corner load tolerances see “Final check” on page H98. Adjustment of the corner load is effected by turning the differential set screw (1) and (2) with „boxspanner“ tool, size 7.1 29. When corner are in tolerance as per see “Final check” on page H9 put blind plug back.<strong>Precisa</strong> Gravimetrics AG Index - D4