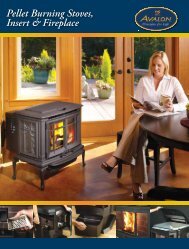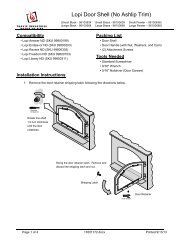
Pendleton (745-790) Owner's Manual - Avalon
Pendleton (745-790) Owner's Manual - Avalon
Pendleton (745-790) Owner's Manual - Avalon

You also want an ePaper? Increase the reach of your titles
YUMPU automatically turns print PDFs into web optimized ePapers that Google loves.
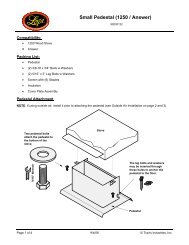
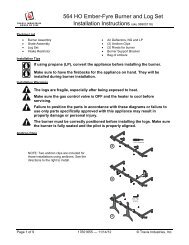
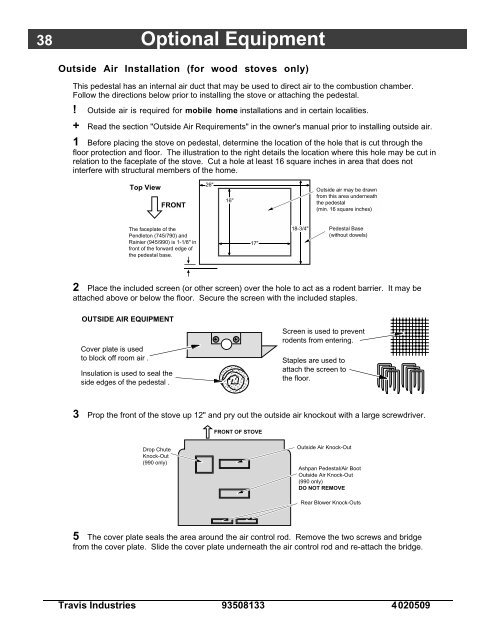
38 Optional EquipmentOutside Air Installation (for wood stoves only)This pedestal has an internal air duct that may be used to direct air to the combustion chamber.Follow the directions below prior to installing the stove or attaching the pedestal.! Outside air is required for mobile home installations and in certain localities.+ Read the section "Outside Air Requirements" in the owner's manual prior to installing outside air.1 Before placing the stove on pedestal, determine the location of the hole that is cut through thefloor protection and floor. The illustration to the right details the location where this hole may be cut inrelation to the faceplate of the stove. Cut a hole at least 16 square inches in area that does notinterfere with structural members of the home.Top ViewFRONT26"16"Outside air may be drawnfrom this area underneaththe pedestal(min. 16 square inches)The faceplate of the<strong>Pendleton</strong> (<strong>745</strong>/<strong>790</strong>) andRainier (945/990) is 1-1/8" infront of the forward edge ofthe pedestal base.17"18-3/4"Pedestal Base(without dowels)2 Place the included screen (or other screen) over the hole to act as a rodent barrier. It may beattached above or below the floor. Secure the screen with the included staples.OUTSIDE AIR EQUIPMENTCover plate is usedto block off room air .Insulation is used to seal theside edges of the pedestal .Screen is used to preventrodents from entering.Staples are used toattach the screen tothe floor.3 Prop the front of the stove up 12" and pry out the outside air knockout with a large screwdriver.FRONT OF STOVEDrop ChuteKnock-Out(990 only)Outside Air Knock-OutAshpan Pedestal/Air BootOutside Air Knock-Out(990 only)DO NOT REMOVERear Blower Knock-Outs5 The cover plate seals the area around the air control rod. Remove the two screws and bridgefrom the cover plate. Slide the cover plate underneath the air control rod and re-attach the bridge.Travis Industries 93508133 4020509