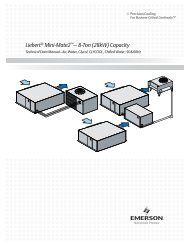
Liebert Mini-Mate2, 8 Ton - Emerson Network Power
Liebert Mini-Mate2, 8 Ton - Emerson Network Power
Liebert Mini-Mate2, 8 Ton - Emerson Network Power

Create successful ePaper yourself
Turn your PDF publications into a flip-book with our unique Google optimized e-Paper software.
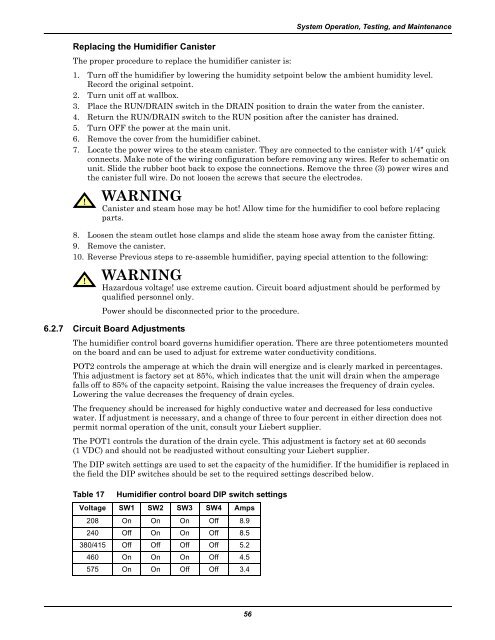
Replacing the Humidifier Canister<br />
The proper procedure to replace the humidifier canister is:<br />
56<br />
System Operation, Testing, and Maintenance<br />
1. Turn off the humidifier by lowering the humidity setpoint below the ambient humidity level.<br />
Record the original setpoint.<br />
2. Turn unit off at wallbox.<br />
3. Place the RUN/DRAIN switch in the DRAIN position to drain the water from the canister.<br />
4. Return the RUN/DRAIN switch to the RUN position after the canister has drained.<br />
5. Turn OFF the power at the main unit.<br />
6. Remove the cover from the humidifier cabinet.<br />
7. Locate the power wires to the steam canister. They are connected to the canister with 1/4" quick<br />
connects. Make note of the wiring configuration before removing any wires. Refer to schematic on<br />
unit. Slide the rubber boot back to expose the connections. Remove the three (3) power wires and<br />
the canister full wire. Do not loosen the screws that secure the electrodes.<br />
! WARNING<br />
Canister and steam hose may be hot! Allow time for the humidifier to cool before replacing<br />
parts.<br />
8. Loosen the steam outlet hose clamps and slide the steam hose away from the canister fitting.<br />
9. Remove the canister.<br />
10. Reverse Previous steps to re-assemble humidifier, paying special attention to the following:<br />
! WARNING<br />
Hazardous voltage! use extreme caution. Circuit board adjustment should be performed by<br />
qualified personnel only.<br />
<strong>Power</strong> should be disconnected prior to the procedure.<br />
6.2.7 Circuit Board Adjustments<br />
The humidifier control board governs humidifier operation. There are three potentiometers mounted<br />
on the board and can be used to adjust for extreme water conductivity conditions.<br />
POT2 controls the amperage at which the drain will energize and is clearly marked in percentages.<br />
This adjustment is factory set at 85%, which indicates that the unit will drain when the amperage<br />
falls off to 85% of the capacity setpoint. Raising the value increases the frequency of drain cycles.<br />
Lowering the value decreases the frequency of drain cycles.<br />
The frequency should be increased for highly conductive water and decreased for less conductive<br />
water. If adjustment is necessary, and a change of three to four percent in either direction does not<br />
permit normal operation of the unit, consult your <strong>Liebert</strong> supplier.<br />
The POT1 controls the duration of the drain cycle. This adjustment is factory set at 60 seconds<br />
(1 VDC) and should not be readjusted without consulting your <strong>Liebert</strong> supplier.<br />
The DIP switch settings are used to set the capacity of the humidifier. If the humidifier is replaced in<br />
the field the DIP switches should be set to the required settings described below.<br />
Table 17 Humidifier control board DIP switch settings<br />
Voltage SW1 SW2 SW3 SW4 Amps<br />
208 On On On Off 8.9<br />
240 Off On On Off 8.5<br />
380/415 Off Off Off Off 5.2<br />
460 On On On Off 4.5<br />
575 On On Off Off 3.4