Xerox® WorkCentre 3550 - Xerox Support and Drivers
Xerox® WorkCentre 3550 - Xerox Support and Drivers
Xerox® WorkCentre 3550 - Xerox Support and Drivers

Create successful ePaper yourself
Turn your PDF publications into a flip-book with our unique Google optimized e-Paper software.
Using the USB Port<br />
<strong>Xerox</strong> <strong>WorkCentre</strong> <strong>3550</strong><br />
Quick Use Guide<br />
English<br />
USB memory devices are available with a variety of memory capacities to give<br />
you more room for storing documents, music <strong>and</strong> videos, high resolution<br />
photographs, <strong>and</strong> other files.<br />
You can scan a document <strong>and</strong> store it on your USB memory device, or you can<br />
print files directly from the USB memory device. You can print TIFF, JPEG, PDF,<br />
PCL, PS, TXT <strong>and</strong> PRN files.<br />
Refer to the System Administrator Guide for information about USB Port setup.<br />
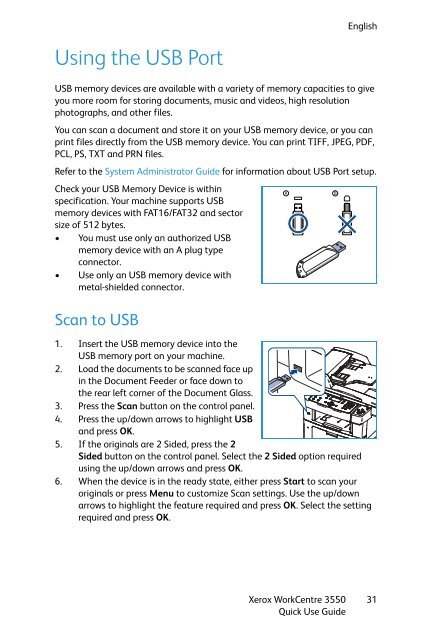
Check your USB Memory Device is within<br />
specification. Your machine supports USB<br />
memory devices with FAT16/FAT32 <strong>and</strong> sector<br />
size of 512 bytes.<br />
• You must use only an authorized USB<br />
memory device with an A plug type<br />
connector.<br />
• Use only an USB memory device with<br />
metal-shielded connector.<br />
Scan to USB<br />
1. Insert the USB memory device into the<br />
USB memory port on your machine.<br />
2. Load the documents to be scanned face up<br />
in the Document Feeder or face down to<br />
the rear left corner of the Document Glass.<br />
3. Press the Scan button on the control panel.<br />
4. Press the up/down arrows to highlight USB<br />
<strong>and</strong> press OK.<br />
5. If the originals are 2 Sided, press the 2<br />
Sided button on the control panel. Select the 2 Sided option required<br />
using the up/down arrows <strong>and</strong> press OK.<br />
6. When the device is in the ready state, either press Start to scan your<br />
originals or press Menu to customize Scan settings. Use the up/down<br />
arrows to highlight the feature required <strong>and</strong> press OK. Select the setting<br />
required <strong>and</strong> press OK.<br />
31