QAD Customer Self Service Release Notes - QAD.com
QAD Customer Self Service Release Notes - QAD.com
QAD Customer Self Service Release Notes - QAD.com

Create successful ePaper yourself
Turn your PDF publications into a flip-book with our unique Google optimized e-Paper software.
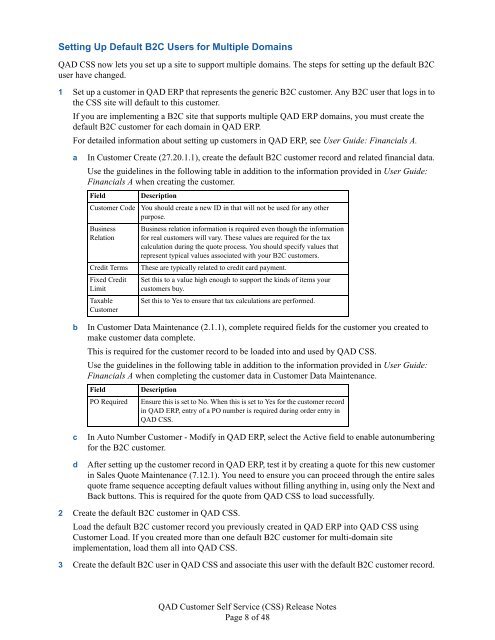
Setting Up Default B2C Users for Multiple Domains<br />
<strong>QAD</strong> CSS now lets you set up a site to support multiple domains. The steps for setting up the default B2C<br />
user have changed.<br />
1 Set up a customer in <strong>QAD</strong> ERP that represents the generic B2C customer. Any B2C user that logs in to<br />
the CSS site will default to this customer.<br />
If you are implementing a B2C site that supports multiple <strong>QAD</strong> ERP domains, you must create the<br />
default B2C customer for each domain in <strong>QAD</strong> ERP.<br />
For detailed information about setting up customers in <strong>QAD</strong> ERP, see User Guide: Financials A.<br />
a In <strong>Customer</strong> Create (27.20.1.1), create the default B2C customer record and related financial data.<br />
Use the guidelines in the following table in addition to the information provided in User Guide:<br />
Financials A when creating the customer.<br />
Field Description<br />
<strong>Customer</strong> Code You should create a new ID in that will not be used for any other<br />
purpose.<br />
Business<br />
Relation<br />
Business relation information is required even though the information<br />
for real customers will vary. These values are required for the tax<br />
calculation during the quote process. You should specify values that<br />
represent typical values associated with your B2C customers.<br />
Credit Terms These are typically related to credit card payment.<br />
Fixed Credit<br />
Limit<br />
Taxable<br />
<strong>Customer</strong><br />
Set this to a value high enough to support the kinds of items your<br />
customers buy.<br />
Set this to Yes to ensure that tax calculations are performed.<br />
b In <strong>Customer</strong> Data Maintenance (2.1.1), <strong>com</strong>plete required fields for the customer you created to<br />
make customer data <strong>com</strong>plete.<br />
This is required for the customer record to be loaded into and used by <strong>QAD</strong> CSS.<br />
Use the guidelines in the following table in addition to the information provided in User Guide:<br />
Financials A when <strong>com</strong>pleting the customer data in <strong>Customer</strong> Data Maintenance.<br />
Field Description<br />
PO Required Ensure this is set to No. When this is set to Yes for the customer record<br />
in <strong>QAD</strong> ERP, entry of a PO number is required during order entry in<br />
<strong>QAD</strong> CSS.<br />
c In Auto Number <strong>Customer</strong> - Modify in <strong>QAD</strong> ERP, select the Active field to enable autonumbering<br />
for the B2C customer.<br />
d After setting up the customer record in <strong>QAD</strong> ERP, test it by creating a quote for this new customer<br />
in Sales Quote Maintenance (7.12.1). You need to ensure you can proceed through the entire sales<br />
quote frame sequence accepting default values without filling anything in, using only the Next and<br />
Back buttons. This is required for the quote from <strong>QAD</strong> CSS to load successfully.<br />
2 Create the default B2C customer in <strong>QAD</strong> CSS.<br />
Load the default B2C customer record you previously created in <strong>QAD</strong> ERP into <strong>QAD</strong> CSS using<br />
<strong>Customer</strong> Load. If you created more than one default B2C customer for multi-domain site<br />
implementation, load them all into <strong>QAD</strong> CSS.<br />
3 Create the default B2C user in <strong>QAD</strong> CSS and associate this user with the default B2C customer record.<br />
<strong>QAD</strong> <strong>Customer</strong> <strong>Self</strong> <strong>Service</strong> (CSS) <strong>Release</strong> <strong>Notes</strong><br />
Page 8 of 48