HP Officejet Pro K550
HP Officejet Pro K550
HP Officejet Pro K550
You also want an ePaper? Increase the reach of your titles
YUMPU automatically turns print PDFs into web optimized ePapers that Google loves.
English<br />
20<br />
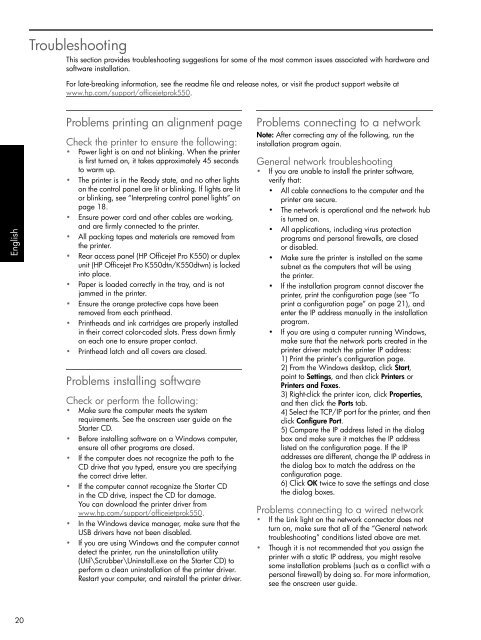
Troubleshooting<br />
This section provides troubleshooting suggestions for some of the most common issues associated with hardware and<br />
software installation.<br />
For late-breaking information, see the readme file and release notes, or visit the product support website at<br />
www.hp.com/support/officejetprok550.<br />
<strong>Pro</strong>blems printing an alignment page<br />
Check the printer to ensure the following:<br />
• Power light is on and not blinking. When the printer<br />
is first turned on, it takes approximately 45 seconds<br />
to warm up.<br />
• The printer is in the Ready state, and no other lights<br />
on the control panel are lit or blinking. If lights are lit<br />
or blinking, see “Interpreting control panel lights” on<br />
page 18.<br />
• Ensure power cord and other cables are working,<br />
and are firmly connected to the printer.<br />
• All packing tapes and materials are removed from<br />
the printer.<br />
• Rear access panel (<strong>HP</strong> <strong>Officejet</strong> <strong>Pro</strong> <strong>K550</strong>) or duplex<br />
unit (<strong>HP</strong> <strong>Officejet</strong> <strong>Pro</strong> <strong>K550</strong>dtn/<strong>K550</strong>dtwn) is locked<br />
into place.<br />
• Paper is loaded correctly in the tray, and is not<br />
jammed in the printer.<br />
• Ensure the orange protective caps have been<br />
removed from each printhead.<br />
• Printheads and ink cartridges are properly installed<br />
in their correct color-coded slots. Press down firmly<br />
on each one to ensure proper contact.<br />
• Printhead latch and all covers are closed.<br />
<strong>Pro</strong>blems installing software<br />
Check or perform the following:<br />
• Make sure the computer meets the system<br />
requirements. See the onscreen user guide on the<br />
Starter CD.<br />
• Before installing software on a Windows computer,<br />
ensure all other programs are closed.<br />
• If the computer does not recognize the path to the<br />
CD drive that you typed, ensure you are specifying<br />
the correct drive letter.<br />
• If the computer cannot recognize the Starter CD<br />
in the CD drive, inspect the CD for damage.<br />
You can download the printer driver from<br />
www.hp.com/support/officejetprok550.<br />
• In the Windows device manager, make sure that the<br />
USB drivers have not been disabled.<br />
• If you are using Windows and the computer cannot<br />
detect the printer, run the uninstallation utility<br />
(Util\Scrubber\Uninstall.exe on the Starter CD) to<br />
perform a clean uninstallation of the printer driver.<br />
Restart your computer, and reinstall the printer driver.<br />
<strong>Pro</strong>blems connecting to a network<br />
Note: After correcting any of the following, run the<br />
installation program again.<br />
General network troubleshooting<br />
• If you are unable to install the printer software,<br />
verify that:<br />
• All cable connections to the computer and the<br />
printer are secure.<br />
• The network is operational and the network hub<br />
is turned on.<br />
• All applications, including virus protection<br />
programs and personal firewalls, are closed<br />
or disabled.<br />
• Make sure the printer is installed on the same<br />
subnet as the computers that will be using<br />
the printer.<br />
• If the installation program cannot discover the<br />
printer, print the configuration page (see “To<br />
print a configuration page” on page 21), and<br />
enter the IP address manually in the installation<br />
program.<br />
• If you are using a computer running Windows,<br />
make sure that the network ports created in the<br />
printer driver match the printer IP address:<br />
1) Print the printer’s configuration page.<br />
2) From the Windows desktop, click Start,<br />
point to Settings, and then click Printers or<br />
Printers and Faxes.<br />
3) Right-click the printer icon, click <strong>Pro</strong>perties,<br />
and then click the Ports tab.<br />
4) Select the TCP/IP port for the printer, and then<br />
click Configure Port.<br />
5) Compare the IP address listed in the dialog<br />
box and make sure it matches the IP address<br />
listed on the configuration page. If the IP<br />
addresses are different, change the IP address in<br />
the dialog box to match the address on the<br />
configuration page.<br />
6) Click OK twice to save the settings and close<br />
the dialog boxes.<br />
<strong>Pro</strong>blems connecting to a wired network<br />
• If the Link light on the network connector does not<br />
turn on, make sure that all of the “General network<br />
troubleshooting” conditions listed above are met.<br />
• Though it is not recommended that you assign the<br />
printer with a static IP address, you might resolve<br />
some installation problems (such as a conflict with a<br />
personal firewall) by doing so. For more information,<br />
see the onscreen user guide.


