ROTO SILENTA 630 RS - HettichLab
ROTO SILENTA 630 RS - HettichLab
ROTO SILENTA 630 RS - HettichLab

You also want an ePaper? Increase the reach of your titles
YUMPU automatically turns print PDFs into web optimized ePapers that Google loves.
EN<br />
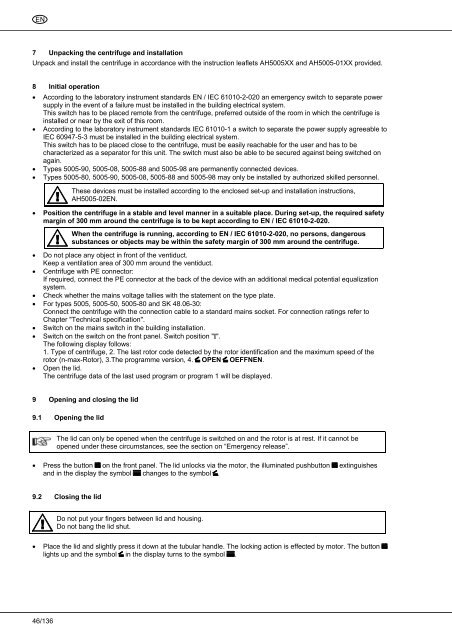
7 Unpacking the centrifuge and installation<br />
Unpack and install the centrifuge in accordance with the instruction leaflets AH5005XX and AH5005-01XX provided.<br />
8 Initial operation<br />
According to the laboratory instrument standards EN / IEC 61010-2-020 an emergency switch to separate power<br />
supply in the event of a failure must be installed in the building electrical system.<br />
This switch has to be placed remote from the centrifuge, preferred outside of the room in which the centrifuge is<br />
installed or near by the exit of this room.<br />
According to the laboratory instrument standards IEC 61010-1 a switch to separate the power supply agreeable to<br />
IEC 60947-5-3 must be installed in the building electrical system.<br />
This switch has to be placed close to the centrifuge, must be easily reachable for the user and has to be<br />
characterized as a separator for this unit. The switch must also be able to be secured against being switched on<br />
again.<br />
Types 5005-90, 5005-08, 5005-88 and 5005-98 are permanently connected devices.<br />
Types 5005-80, 5005-90, 5005-08, 5005-88 and 5005-98 may only be installed by authorized skilled personnel.<br />
46/136<br />
These devices must be installed according to the enclosed set-up and installation instructions,<br />
AH5005-02EN.<br />
Position the centrifuge in a stable and level manner in a suitable place. During set-up, the required safety<br />
margin of 300 mm around the centrifuge is to be kept according to EN / IEC 61010-2-020.<br />
When the centrifuge is running, according to EN / IEC 61010-2-020, no persons, dangerous<br />
substances or objects may be within the safety margin of 300 mm around the centrifuge.<br />
Do not place any object in front of the ventiduct.<br />
Keep a ventilation area of 300 mm around the ventiduct.<br />
Centrifuge with PE connector:<br />
If required, connect the PE connector at the back of the device with an additional medical potential equalization<br />
system.<br />
Check whether the mains voltage tallies with the statement on the type plate.<br />
For types 5005, 5005-50, 5005-80 and SK 48.06-30:<br />
Connect the centrifuge with the connection cable to a standard mains socket. For connection ratings refer to<br />
Chapter "Technical specification".<br />
Switch on the mains switch in the building installation.<br />
Switch on the switch on the front panel. Switch position "".<br />
The following display follows:<br />
1. Type of centrifuge, 2. The last rotor code detected by the rotor identification and the maximum speed of the<br />
rotor (n-max-Rotor), 3.The programme version, 4. OPEN OEFFNEN.<br />
Open the lid.<br />
The centrifuge data of the last used program or program 1 will be displayed.<br />
9 Opening and closing the lid<br />
9.1 Opening the lid<br />
The lid can only be opened when the centrifuge is switched on and the rotor is at rest. If it cannot be<br />
opened under these circumstances, see the section on “Emergency release”.<br />
Press the button on the front panel. The lid unlocks via the motor, the illuminated pushbutton extinguishes<br />
and in the display the symbol changes to the symbol .<br />
9.2 Closing the lid<br />
Do not put your fingers between lid and housing.<br />
Do not bang the lid shut.<br />
Place the lid and slightly press it down at the tubular handle. The locking action is effected by motor. The button<br />
lights up and the symbol in the display turns to the symbol .