
Create successful ePaper yourself
Turn your PDF publications into a flip-book with our unique Google optimized e-Paper software.
4. Securely connect the fuel hose con-<br />
nector to the outboard motor page<br />
35.<br />
5. Prime the engine using the primer<br />
bilb page 36. Check for fuel leaks.<br />
Repair any fuel leaks if necessary.<br />
If loss of power or hard starting are<br />
found to be caused by excessive water or<br />
sediment accumulation in the fuel filter,<br />
inspect the fuel tank.<br />
Clean the fuel tank and tank filter if<br />
necessary. It may be necessary to drain<br />
the fuel tank completely and refill with<br />
fresh gasoline.<br />
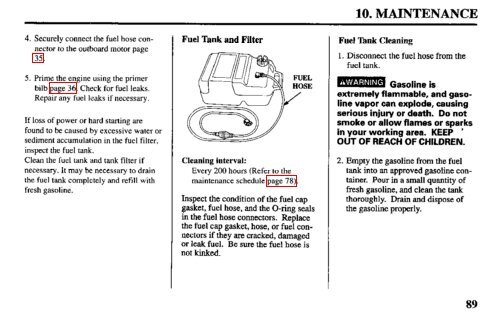
Fuel Tank and Filter<br />
Cleaning interval:<br />
Every 200 hours (Refer to the<br />
maintenance schedule page 78).<br />
Inspect the condition of the fuel cap<br />
gasket, fuel hose, and the O-ring seals<br />
in the fuel hose connectors. Replace<br />
the fuel cap gasket, hose, or fuel con-<br />
nectors if they are cracked, damaged<br />
or leak fuel. Be sure the fuel hose is<br />
not kinked.<br />
10. MAINTENANCE<br />
Fuel ‘Ihnk Cleaning<br />
1. Disconnect the fuel hose from the<br />
fuel tank.<br />
extremely flammable, and gaso-<br />
line vapor can explode, causing<br />
serious injury or death. Do not<br />
smoke or allow flames or sparks<br />
in your working area. KEEP ’<br />
OUT OF REACH OF CHILDREN.<br />
2. Empty the gasoline from the fuel<br />
tank into an approved gasoline con-<br />
tainer. Pour in a small quantity of<br />
fresh gasoline, and clean the tank<br />
thoroughly. Drain and dispose of<br />
the gasoline properly.<br />
89