

User Manual - Snap Studios
User Manual - Snap Studios
User Manual - Snap Studios

Create successful ePaper yourself
Turn your PDF publications into a flip-book with our unique Google optimized e-Paper software.
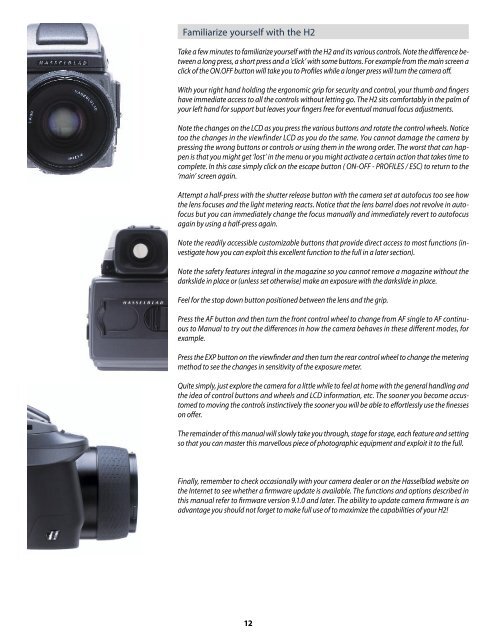
Familiarize yourself with the H2<br />
Take a few minutes to familiarize yourself with the H2 and its various controls. Note the difference between<br />
a long press, a short press and a ’click’ with some buttons. For example from the main screen a<br />
click of the ON.OFF button will take you to Profiles while a longer press will turn the camera off.<br />
With your right hand holding the ergonomic grip for security and control, your thumb and fingers<br />
have immediate access to all the controls without letting go. The H2 sits comfortably in the palm of<br />
your left hand for support but leaves your fingers free for eventual manual focus adjustments.<br />
Note the changes on the LCD as you press the various buttons and rotate the control wheels. Notice<br />
too the changes in the viewfinder LCD as you do the same. You cannot damage the camera by<br />
pressing the wrong buttons or controls or using them in the wrong order. The worst that can happen<br />
is that you might get ‘lost’ in the menu or you might activate a certain action that takes time to<br />
complete. In this case simply click on the escape button ( ON-OFF - PROFILES / ESC) to return to the<br />
‘main’ screen again.<br />
Attempt a half-press with the shutter release button with the camera set at autofocus too see how<br />
the lens focuses and the light metering reacts. Notice that the lens barrel does not revolve in autofocus<br />
but you can immediately change the focus manually and immediately revert to autofocus<br />
again by using a half-press again.<br />
Note the readily accessible customizable buttons that provide direct access to most functions (investigate<br />
how you can exploit this excellent function to the full in a later section).<br />
Note the safety features integral in the magazine so you cannot remove a magazine without the<br />
darkslide in place or (unless set otherwise) make an exposure with the darkslide in place.<br />
Feel for the stop down button positioned between the lens and the grip.<br />
Press the AF button and then turn the front control wheel to change from AF single to AF continuous<br />
to <strong>Manual</strong> to try out the differences in how the camera behaves in these different modes, for<br />
example.<br />
Press the EXP button on the viewfinder and then turn the rear control wheel to change the metering<br />
method to see the changes in sensitivity of the exposure meter.<br />
Quite simply, just explore the camera for a little while to feel at home with the general handling and<br />
the idea of control buttons and wheels and LCD information, etc. The sooner you become accustomed<br />
to moving the controls instinctively the sooner you will be able to effortlessly use the finesses<br />
on offer.<br />
The remainder of this manual will slowly take you through, stage for stage, each feature and setting<br />
so that you can master this marvellous piece of photographic equipment and exploit it to the full.<br />
Finally, remember to check occasionally with your camera dealer or on the Hasselblad website on<br />
the Internet to see whether a firmware update is available. The functions and options described in<br />
this manual refer to firmware version 9.1.0 and later. The ability to update camera firmware is an<br />
advantage you should not forget to make full use of to maximize the capabilities of your H2!<br />
12