Tystar Oxidation & Anneal Furnace Operation - Login | Nanolab, UCLA
Tystar Oxidation & Anneal Furnace Operation - Login | Nanolab, UCLA
Tystar Oxidation & Anneal Furnace Operation - Login | Nanolab, UCLA
Create successful ePaper yourself
Turn your PDF publications into a flip-book with our unique Google optimized e-Paper software.
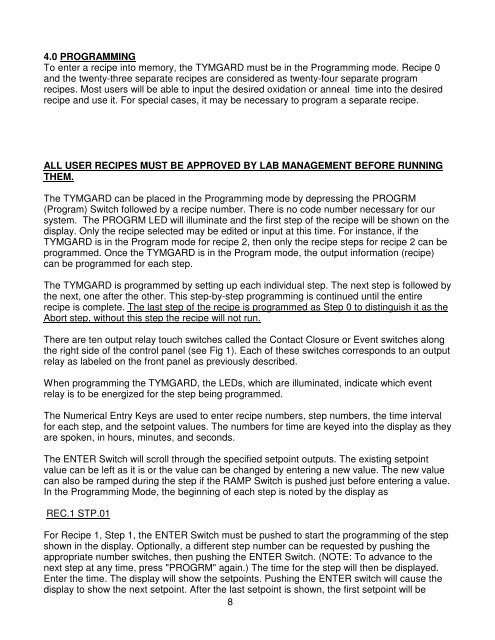
4.0 PROGRAMMING<br />
To enter a recipe into memory, the TYMGARD must be in the Programming mode. Recipe 0<br />
and the twenty-three separate recipes are considered as twenty-four separate program<br />
recipes. Most users will be able to input the desired oxidation or anneal time into the desired<br />
recipe and use it. For special cases, it may be necessary to program a separate recipe.<br />
ALL USER RECIPES MUST BE APPROVED BY LAB MANAGEMENT BEFORE RUNNING<br />
THEM.<br />
The TYMGARD can be placed in the Programming mode by depressing the PROGRM<br />
(Program) Switch followed by a recipe number. There is no code number necessary for our<br />
system. The PROGRM LED will illuminate and the first step of the recipe will be shown on the<br />
display. Only the recipe selected may be edited or input at this time. For instance, if the<br />
TYMGARD is in the Program mode for recipe 2, then only the recipe steps for recipe 2 can be<br />
programmed. Once the TYMGARD is in the Program mode, the output information (recipe)<br />
can be programmed for each step.<br />
The TYMGARD is programmed by setting up each individual step. The next step is followed by<br />
the next, one after the other. This step-by-step programming is continued until the entire<br />
recipe is complete. The last step of the recipe is programmed as Step 0 to distinguish it as the<br />
Abort step, without this step the recipe will not run.<br />
There are ten output relay touch switches called the Contact Closure or Event switches along<br />
the right side of the control panel (see Fig 1). Each of these switches corresponds to an output<br />
relay as labeled on the front panel as previously described.<br />
When programming the TYMGARD, the LEDs, which are illuminated, indicate which event<br />
relay is to be energized for the step being programmed.<br />
The Numerical Entry Keys are used to enter recipe numbers, step numbers, the time interval<br />
for each step, and the setpoint values. The numbers for time are keyed into the display as they<br />
are spoken, in hours, minutes, and seconds.<br />
The ENTER Switch will scroll through the specified setpoint outputs. The existing setpoint<br />
value can be left as it is or the value can be changed by entering a new value. The new value<br />
can also be ramped during the step if the RAMP Switch is pushed just before entering a value.<br />
In the Programming Mode, the beginning of each step is noted by the display as<br />
REC.1 STP.01<br />
For Recipe 1, Step 1, the ENTER Switch must be pushed to start the programming of the step<br />
shown in the display. Optionally, a different step number can be requested by pushing the<br />
appropriate number switches, then pushing the ENTER Switch. (NOTE: To advance to the<br />
next step at any time, press "PROGRM" again.) The time for the step will then be displayed.<br />
Enter the time. The display will show the setpoints. Pushing the ENTER switch will cause the<br />
display to show the next setpoint. After the last setpoint is shown, the first setpoint will be<br />
8


