EVA Twain Installation & User Guide - ImageWorks - Home
EVA Twain Installation & User Guide - ImageWorks - Home
EVA Twain Installation & User Guide - ImageWorks - Home

You also want an ePaper? Increase the reach of your titles
YUMPU automatically turns print PDFs into web optimized ePapers that Google loves.
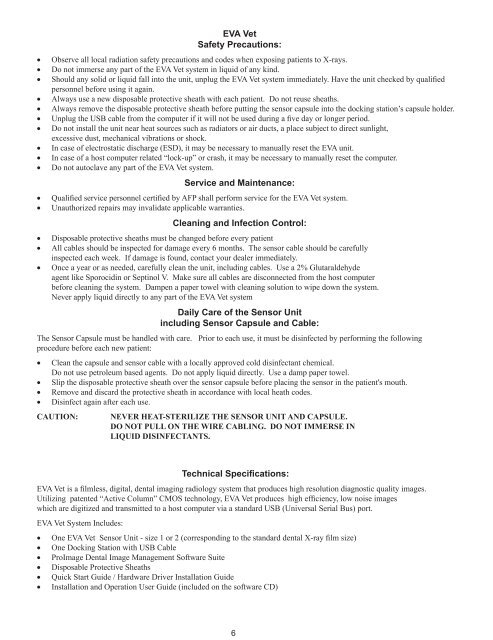
<strong>EVA</strong> Vet<br />
Safety Precautions:<br />
• Οbserve all local radiation safety precautions and codes when exposing patients to X-rays.<br />
• Do not immerse any part of the <strong>EVA</strong> Vet system in liquid of any kind.<br />
• Should any solid or liquid fall into the unit, unplug the <strong>EVA</strong> Vet system immediately. Have the unit checked by qualified<br />
personnel before using it again.<br />
• Always use a new disposable protective sheath with each patient. Do not reuse sheaths.<br />
• Always remove the disposable protective sheath before putting the sensor capsule into the docking station’s capsule holder.<br />
• Unplug the USB cable from the computer if it will not be used during a five day or longer period.<br />
• Do not install the unit near heat sources such as radiators or air ducts, a place subject to direct sunlight,<br />
excessive dust, mechanical vibrations or shock.<br />
• In case of electrostatic discharge (ESD), it may be necessary to manually reset the <strong>EVA</strong> unit.<br />
• In case of a host computer related “lock-up” or crash, it may be necessary to manually reset the computer.<br />
• Do not autoclave any part of the <strong>EVA</strong> Vet system.<br />
Service and Maintenance:<br />
• Qualified service personnel certified by AFP shall perform service for the <strong>EVA</strong> Vet system.<br />
• Unauthorized repairs may invalidate applicable warranties.<br />
Cleaning and Infection Control:<br />
• Disposable protective sheaths must be changed before every patient<br />
• All cables should be inspected for damage every 6 months. The sensor cable should be carefully<br />
inspected each week. If damage is found, contact your dealer immediately.<br />
• Once a year or as needed, carefully clean the unit, including cables. Use a 2% Glutaraldehyde<br />
agent like Sporocidin or Septinol V. Make sure all cables are disconnected from the host computer<br />
before cleaning the system. Dampen a paper towel with cleaning solution to wipe down the system.<br />
Never apply liquid directly to any part of the <strong>EVA</strong> Vet system<br />
Daily Care of the Sensor Unit<br />
including Sensor Capsule and Cable:<br />
The Sensor Capsule must be handled with care. Prior to each use, it must be disinfected by performing the following<br />
procedure before each new patient:<br />
• Clean the capsule and sensor cable with a locally approved cold disinfectant chemical.<br />
Do not use petroleum based agents. Do not apply liquid directly. Use a damp paper towel.<br />
• Slip the disposable protective sheath over the sensor capsule before placing the sensor in the patient's mouth.<br />
• Remove and discard the protective sheath in accordance with local heath codes.<br />
• Disinfect again after each use.<br />
CAUTION:<br />
NEVER HEAT-STERILIZE THE SENSOR UNIT AND CAPSULE.<br />
DO NOT PULL ON THE WIRE CABLING. DO NOT IMMERSE IN<br />
LIQUID DISINFECTANTS.<br />
Technical Specifications:<br />
<strong>EVA</strong> Vet is a filmless, digital, dental imaging radiology system that produces high resolution diagnostic quality images.<br />
Utilizing patented “Active Column” CMOS technology, <strong>EVA</strong> Vet produces high efficiency, low noise images<br />
which are digitized and transmitted to a host computer via a standard USB (Universal Serial Bus) port.<br />
<strong>EVA</strong> Vet System Includes:<br />
• One <strong>EVA</strong> Vet Sensor Unit - size 1 or 2 (corresponding to the standard dental X-ray film size)<br />
• One Docking Station with USB Cable<br />
• ProImage Dental Image Management Software Suite<br />
• Disposable Protective Sheaths<br />
• Quick Start <strong>Guide</strong> / Hardware Driver <strong>Installation</strong> <strong>Guide</strong><br />
• Ιnstallation and Operation <strong>User</strong> <strong>Guide</strong> (included on the software CD)<br />
6